It finally happened: I agree with Kim Kardashian on something.
Believe me, I didn’t expect it either. But flipping through a beauty mag recently, I spotted an article declaring that washing your hair only once a week is now a thing — apparently because Kim said so.
Would it be rude to say, Welcome to the party? Or, Better late than never?
Let’s investigate this “new” trend and trace it back to the roots (sorry) …
That’s when shampoo came to Britain from Colonial India, where the people of India had been making their own version of shampoo since the 1500s.
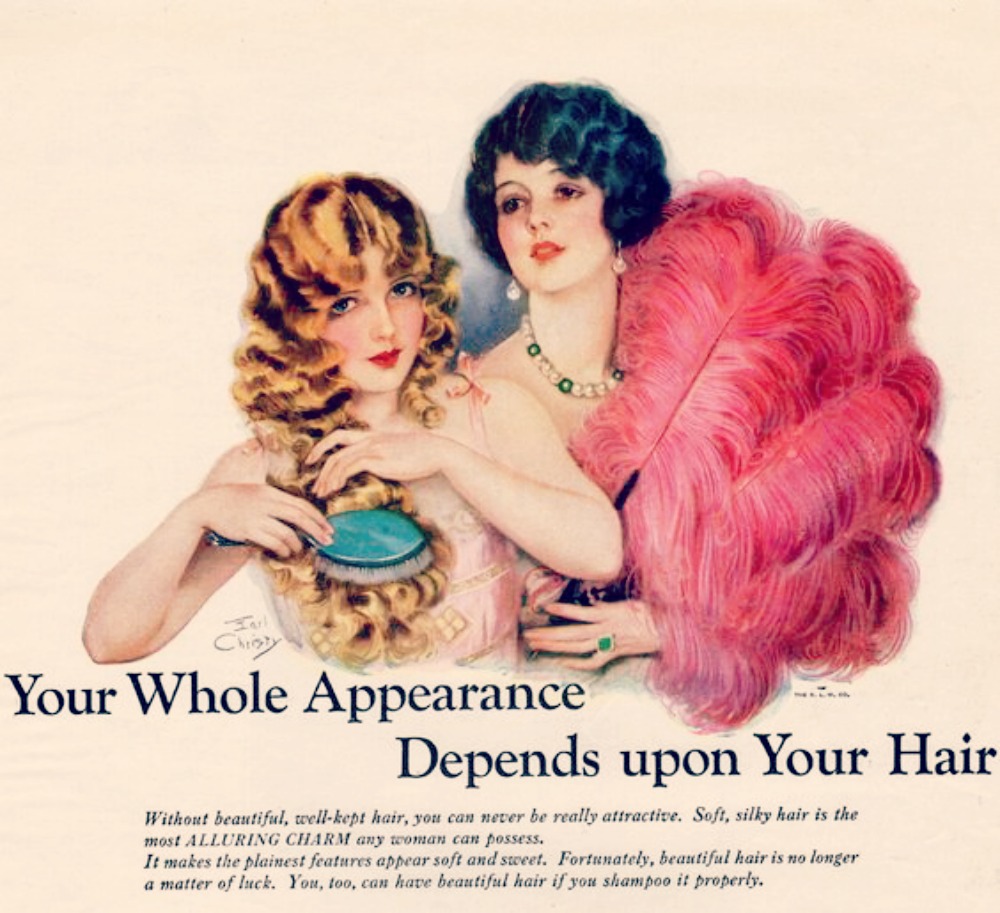
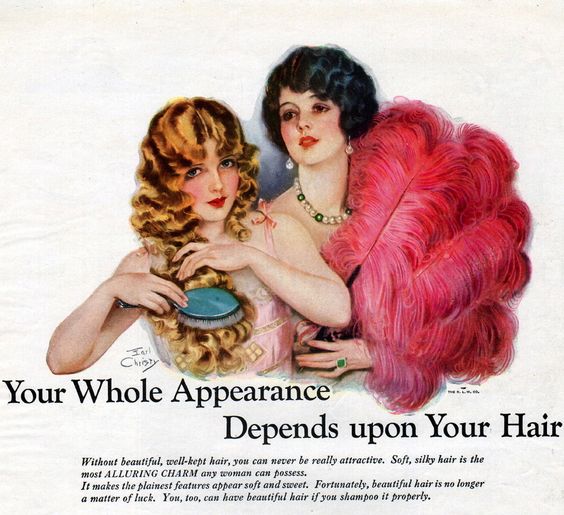
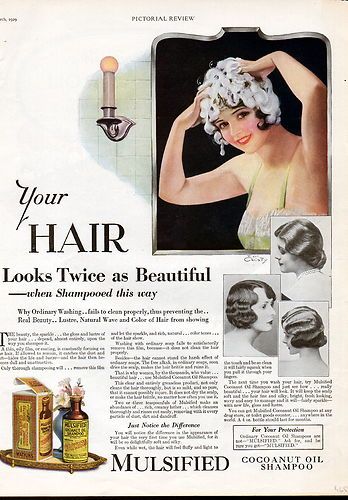
And before liquid shampoo was invented in the late 1920s, shampoo existed in bar form, like soap, and was marketed and seen as a health product, not a beauty one.
When the days of modern chemistry really kicked in, scientists developed a cheap and easy wash to suds up our hair, leaving it feeling soft and clean. Thus a goldmine was created.
The familiar trend of washing your hair more than once a week is also a relatively recent one, and one we’ve largely been conned into at that.
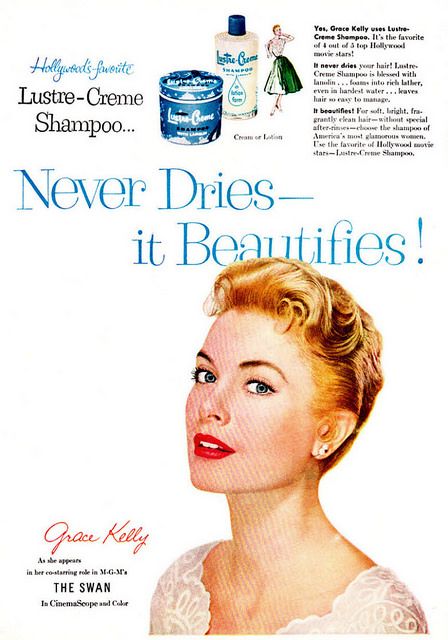
We’ve been brain washed by Mad Men
Imagine if you will, Don Draper and his team sitting in their office wondering how to get women to buy more shampoo. Eureka! Let’s tell them they not only need to wash their hair every day, but to rinse and repeat!
Thus we all fell for yet another marketing ploy.
The psychology of shampoo marketing is actually quite fascinating, as it focuses largely on our vanity and how “bad hair days” affect our emotional state.
A quick intro to keeping our hair healthy
As our body grows, changes and heals itself, it sheds debris from skin cells and excreted fats (ewwww, but yeah) known as sebum. This sebum waterproofs and moisturises our skin and hair. Our sebum glands are at the base of the hair follicle, all over our bodies, but with the highest concentration over our head and face.
Sebum is essential: without it, our hair and skin drys out and cracks. And when we wash our hair, we’re basically washing all this off.
Why do we do this? Because oily hair is limp and pretty unattractive. It can also smell.
But do we need to wash it everyday? The answer is no. In fact, by washing our hair more often than every five days or so, we’re perpetuating an unhealthy habit that wastes time and money and makes our hair less healthy.
Put down that shampoo bottle
Whenever you wash your hair, you remove the natural moisturisers. These need to be put back in with conditioners, serums and treatments.
Now, think of all the cash and time you’ll save if you kick the daily habit of washing and conditioning!
I know, those of you with oily hair might be thinking you couldn’t possibly go a day without washing your hair. But did you know that your oily hair is directly related to washing it on a daily basis? It’s true: the more frequently you wash your hair, the faster your body works to try and catch up and protect the hair by producing more sebum.
Of course, it takes time to retrain your scalp into producing less and less oil, so I’m not suggesting you simply stop washing your hair right away.
Finding the right solution for your hair
Ok, so what should you do? That truly comes down to personal preference and hair type.
Never washing your hair — which has also gained momentum as a trend in recent times — is asking for trouble in my opinion. The buildup of sebum can cause a flare up of acne of the face (even if you’ve never had it before) and scalp, bacterial infections, hair loss and thinning, and even weeping sores.
As a hairstylist, I’ve seen what this looks like first hand and believe me it’s not pretty.
For someone like me, who likes to set their hair and gets lots of volume and bounce, washing my hair every five-to-seven days is perfectly adequate and keeps my strands in very good condition. In general, this is a fine place to start for most people.
More hair care solutions to consider
Simply put, the more naturally you treat your hair, the better the results.
If you opt to shampoo and condition every five-to-seven days, choose hair care products that have no petro-chemicals. Not all of these are expensive. As consumers have become more savvy, more of these products have become available, and prices have gone down.
There are also natural solutions, such as using bi-carb soda or rice powder to dry shampoo the hair and absorb the excess oil. As someone with dark hair, I can say that this doesn’t work too well for me, but they’re both an excellent option for lighter hair shades.
Rinsing your hair with lemon juice can also improve the alkalinity of the scalp and hair, balancing the ph of the scalp and making the hair shine.
Shampoo products and recipes I recommend
I’m often asked about specific hair care products that I use and recommend. And while I preface my responses by noting that my hair likely differs from yours, there are a few options I feel confident in passing along.
For the best natural shampoos, I highly recommend shopping online with Nourished Life. My buddy Irene runs this incredible store in Sydney and she’s passionate about supplying the very best natural, organic and safe beauty products to help you look your best.
If you’re more of the DIY type, here are a few DIY shampoo recipes you might like:
I’m often asked how women of the past century had so much spare time to do their hair. What many people don’t know is how infrequently they actually washed it. Many women had their hair set and styled only every week or two. The style was then simply altered or changed up a little for the next day.
When you think about it, taking a page from the vintage hairstyling playbook still makes all the sense in the world today: Washing your hair only once a week will keep you looking fabulous, make your hair much healthier in the long run, plus save you time and money.
You want to know how to do winged liner perfectly every time?
You need a specialty winged eyeliner tutorial and here it is!
I’ve been asked more times than I can count, to show you how I do my winged eyeliner. It is, without fail, the first thing I’m asked in all my workshops and I love to see the difference it makes to people when they get it. Aside from the drawing technique, the biggest tip I can offer you, is how I manage to keep my lids flat (the head tilt) and still see what I’m doing.
Watch it. Try it. Share it!
For all natural, cruelty free liquid eye liner, we shop with Nourished Life here in Australia. They have a gorgeous range of makeup for the conscious consumer and incredible customer service too!
This DIY teeth whitening method is a tried and true trick I’ve been using for years!
As a red lipstick addict, to say nothing of my love for black coffee and Merlot, this is an essential part of my beauty routine. It’s ridiculously inexpensive and highly effective, just don’t use it more than a few of times per month.
The bicarbonate soda is the abrasive part, and the peroxide both removes the stains and sanitises the area, killing any bacteria and improving your overall oral health.
I’ve been using this method for years and yes, I’ve had it evaluated and approved by my dentist as well. This is one of the tricks I teach in my hands on beauty workshops and have had incredible feedback from our participants. Leave me a comment and let me know how this one works for you!
Pulling off a red lip is not as difficult as you may believe.
As a red lipstick wearer of 26 years, I’ve tried them all. The brands, the shades, the formulas, the insider tips and tricks. Now it’s time to share them.
As a professional makeup artist who works with women of all ages, one of the questions I’m most frequently asked is, “how do you get your lipstick to stay on so well?” There is no single answer to this as there are a few factors that come into play, applying it well in the first instance makes a huge difference.
There are so many red lipsticks on the market it’s often hard to know where to start. That’s why I’ve personally created this page where you can shop some our favourite brands!
If you have questions about red lipstick, how to wear it, recommended brands etc. please leave me a comment and I’ll add your request to our new series, The Red Lipstick List!
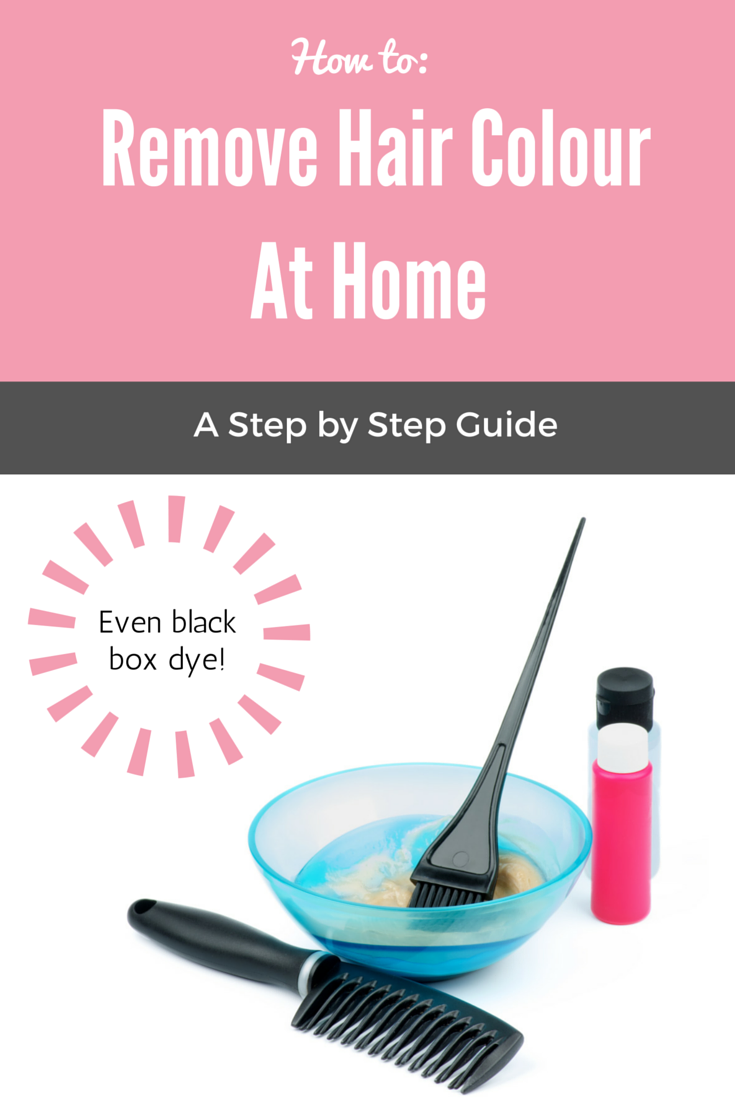
You’ve made a mistake, you’re tired of looking the same or some other woe has befallen your hair colour. Never fear, there are ways to remove the colour and start again.
Before we begin it is important to understand that their are two main categories for hair colour removal and you need to know where you belong.
1. Hair that has been coloured in the past 24-48 hours.
2. Hair that has been coloured for weeks.
If you are in group one, your hair colour will be easier to remove as it hasn’t had as much time to ‘lock’ into the hair. If you’re in group two, you’ll need more patience and understand that there is no safe overnight solution.
If your hair has been coloured with red or purple pigments, these are the hardest to remove. But even if you’ve been colouring your hair with a supermarket brand black dye, I can show you just how to remove it and get your hair ready for it’s new colour. How do I know this? Not just hairdressing theory, but by putting myself and my own hair on the line in the name of science to test my methods.
The key to successful colour stripping is time and patience. If you want hair that feels and looks healthy, there are no short cuts.
Are you skilled enough to do this yourself?
If you can follow instructions accurately, like baking a cake, you’ll be able to do this yourself. If not, leave it to the professionals but know that the right results will really cost you.
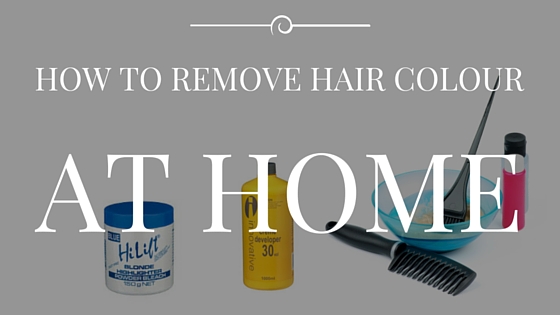
Products you’ll need
Sulphate based shampoo, look for Sodium Laurel / Laureth sulphate on the ingredient listings. This is a harsh cleanser (also used for engine degreaser) that is found in the majority of cheap shampoo brands. I would not recommend using a daily shampoo with this ingredient, but for our purposes it is just right.
Bleach powder
Peroxide at 20 vol. (No more than 20 -30 vol. if you don’t want to end up with nasty, broken straw hair)
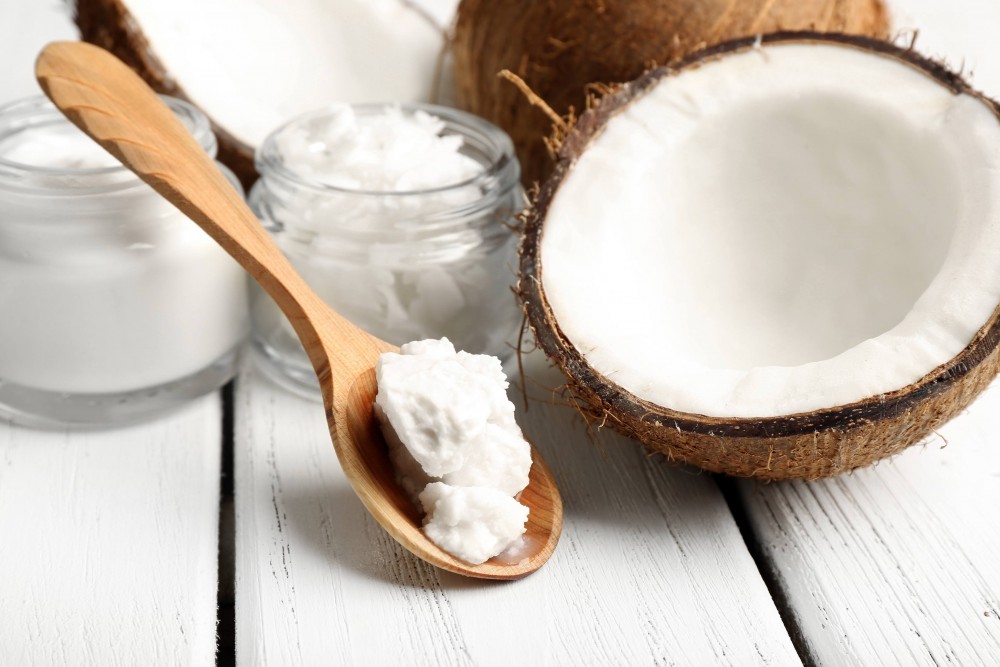
Coconut oil.
Tools you’ll need
2 ceramic of plastic mixing bowls NOT METAL
Disposable gloves
A tint brush
Digital scales
Hair sectioning clips
Shower cap x2
Timer
It is important to understand that if you want the best results, you’ll need to do this gradually. You won’t be going from black to golden blonde overnight, you’re more likely to go bald if you try this!
Depending on how dark your hair is now, the lighter the colour you want to end up with, the longer this process will take. When I decided to strip the black dye from my hair, I allowed myself a full two weeks of stripping time before I even attempted to put another colour into it. But what to do when you’re in that nasty in between stage? That’s where things like my How to Tie a Headscarf video comes in handy. And if you’re doing this over the winter months, berets are a god send!
Before you begin.
It is important to do an allergy test. To do this, mix a small about of bleach and developer (peroxide) in equal parts, onto a cotton tip. Apply this in a thin film the the inside of your elbow, then leave for a few hours to determine if you have a reaction. Make sure to wash this off.
Also, remember you are about to bleach your hair and bleach is not discerning. So make sure you cover your work area, wear appropriate old clothes or towels to protect yourself.
There will be two different scenarios for those of you wanting to remove colour from your hair.
Type 1 – Your colour has been in for less than 48 hours and needs to be lightened.
Type 2 – You are removing permanent/ or semi permanent colour that you have been using for a while.
Here’s how:
Step 1
For Type 1 scenario, first wash your hair several times with a sulphate based shampoo. This is common in all the cheap supermarket brands, (it’s also used as an engine degreaser) and really is not the best option for day to day use. You’ll find it in the same concentration in anti dandruff shampoos as you will in other cheap brands. Here is what to look for on the ingredient listing:
Sodium Laurel (or Laureth) Sulphate
After you have washed your hair several times, (do not condition) towel dry your hair until it is damp before moving onto step two.
If you are a Type 2 scenario, you don’t need to wash your hair, just spray a bit of water to make it damp but not wet, then proceed to step two.
Step 2
Prepare your mixtures. Add your shampoo into the first ceramic bowl; how much you use depends on how much hair you have. You may find you need up to a full cup of shampoo in this bowl as you’ll be using this as the basis for the bulk of your mixture.
To prepare your bleach mixture into the second ceramic bowl, first put your empty bowl onto your digital scales and zero out. Then add 30g (or 1 oz) of bleach powder and 30g (1 oz) of 20 vol. developer / peroxide lotion. Using your tint brush, mix these together to form a uniformed coloured paste. BEWARE this is gives off strong fumes and you’ll need to do this in a well ventilated area.
Step 3
Add the bleach mixture into your shampoo mixture bowl, and mix them all together until they also form a uniform colour and smooth paste.
Step 4
Start applying the mixture with the tint brush at the top section of your hair, sectioning as you go and work your way all the way to the bottom section. Once all of your hair is covered with the mixture, massage in in from roots to tips so not parts are missed.
Step 5
Using your sectioning clips, clip your hair up and cover with your shower cap. The heat from your scalp will help speed up the developing time and the cap will stop any mess.
Step 6 SET YOUR TIMER for 20 minutes. You will be able to feel your scalp tingle as the mixture works, but it should not be painful or burning (if you have successfully performed your allergy test and have mixed according to the instructions). Your roots will ‘lift’ faster than the rest of the hair shaft, the ends take longer. This is because of the colour build up inside the hair shaft as you head towards the ends.
Step 7
Check your hair to see if it has lifted to your desired level of lightness within that 20 minute time frame. If not, leave the mixture on for 10 more minutes, no longer!
Step 8
Wash the mixture thoroughly from your hair, you also won’t need to use conditioner at this stage. Your hair will feel quite strange and grippy at this point. Towel dry until your hair is damp.
Step 9
Using liberal amounts of your coconut oil, coat the whole head of hair from root to tips, massaging into your scalp. Once your whole hair is filled with the oil, replace a clean shower cap over your hair so you’re able to sleep with the oil in and not make a mess. Once again, the shower cap will help your head retain its natural heat and improve the benefits of the oil therapy.
Step 10
The next morning simply shampoo the oil out of the hair and condition as normal. Repeat this coconut oil treatment for the next 72 hours in order to fortify the hair with protein before attempting to add new colour.
When I decided to remove the jet black from my hair and go blue instead, I repeated this process slowly over two weeks in order to get my hair light enough and ready to take the new colour. By taking things slowly, I was able to achieve the perfect new colour and still have strong, shiny and healthy hair. Yes, this did mean that I had really nasty yellow / orange hair for a while there, but with the help of scarves, berets and hats; I was able to bide my time.
The whole process of changing my hair from black to the perfect navy blue has actually taken me six weeks. By doing it myself, I was able to not only save a heap of money, but I was able to take the time I needed to achieve the perfect finish. My total cost came in around $20, instead of a process that would have taken several visits and $$$ at the salon.
If you have any stories to add or would like to ask any specific questions about colour removal, go for it in the comments!
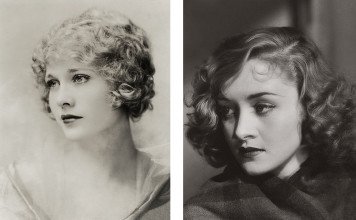
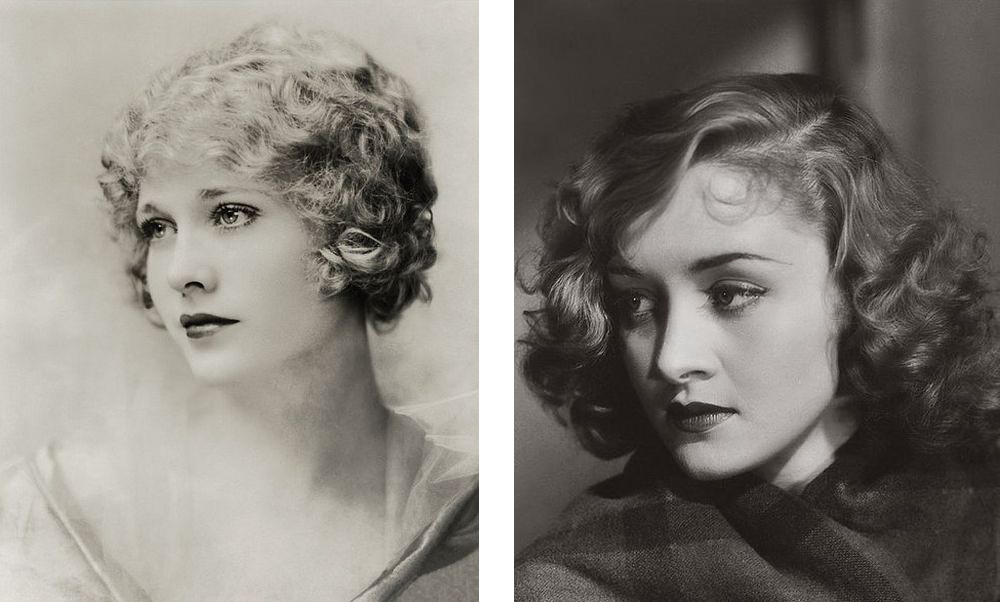
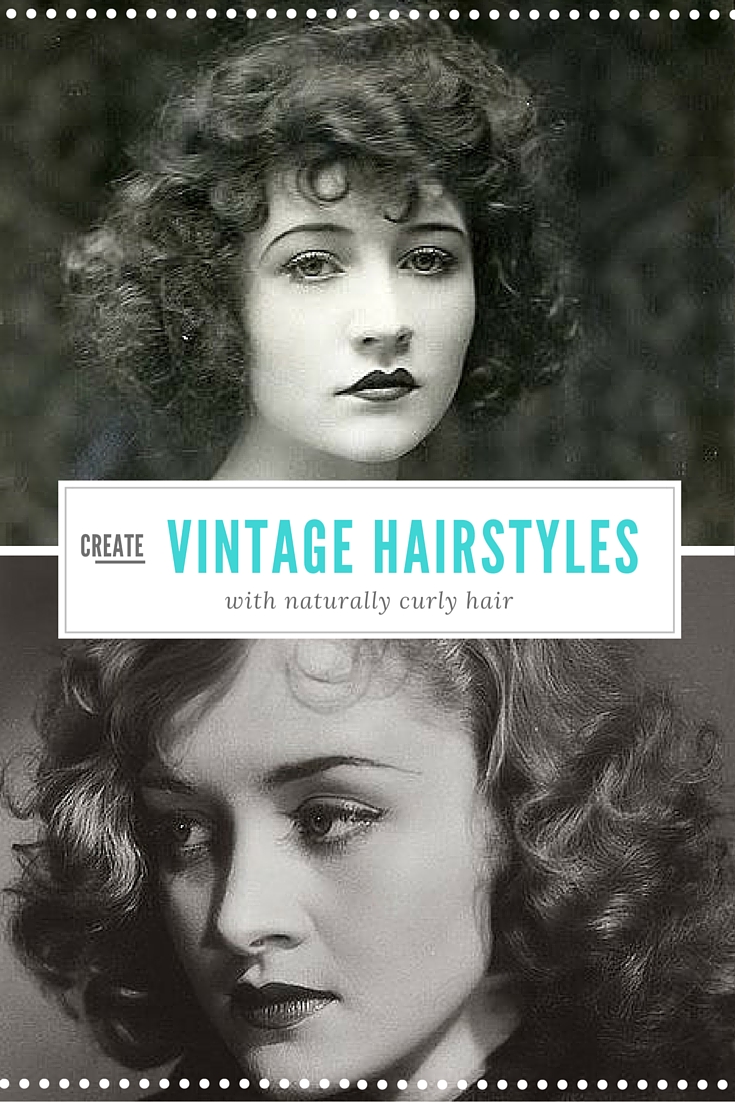
Creating vintage hairstyles with naturally curly hair is easier than you think.
I’m always surprised when I have clients with naturally curly hair, that they have so little idea what to do with it. Then I remind myself; I used to have hair like this when I was younger and had just as much frustration. I would iron it, gel it, slick it and go to bed wearing a hat, all in the hopes of waking up with perfect locks. It wasn’t until I began to learn the secrets of vintage hair styling that I realised just how lucky I was to have naturally curly hair!
In today’s episode of Ask The Editor, we look at a viewers question in regard to vintage hairstyling for naturally curly hair.
Everyone has varying opinions on this topic, but in my experience with hundreds of clients over the years, I can comfortably say that yes, there are simple and fast ways to create vintage hairstyles with naturally curly hair.
If you have curly hair and can add some of your own feedback for us, please join the conversation!
Over the week I’ve also had a bunch of questions about the scarf I use when setting my hair, so I’ve also included some simple to follow instructions on the DIY headscarf you saw me wearing here- Middy Haircut and Setting tutorial.
Making your own scarves is very simple and rewarding. It’s a very quick and inexpensive way to change up an outfit and hide a multitude of hair sins.
If you have more tips for Mona D on how to wear her curly hair in a vintage style, make sure to add your comments to the video where everyone can see them.