by Candice DeVille | Mar 11, 2015 | Hair, Travel
Yes, it truly is my Year of Living Bravely! There is more on the agenda at the moment than I can believe and life is changing at an amazing pace.
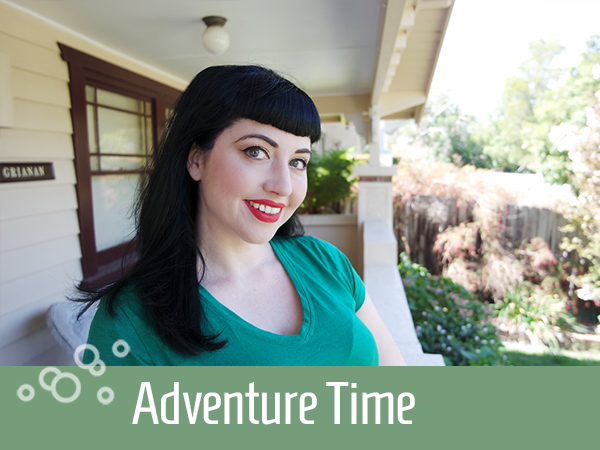
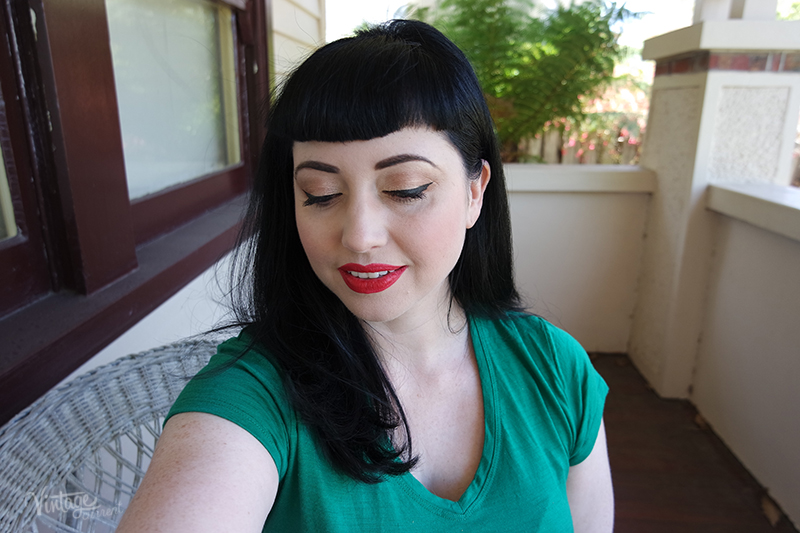
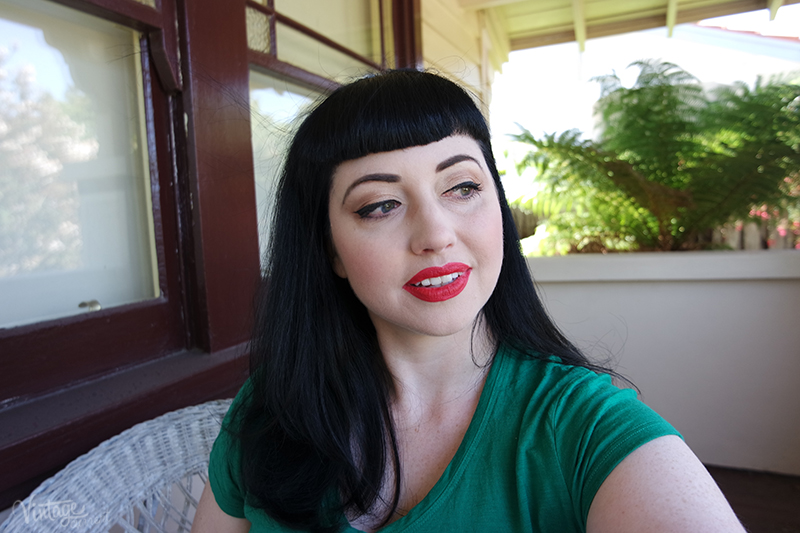
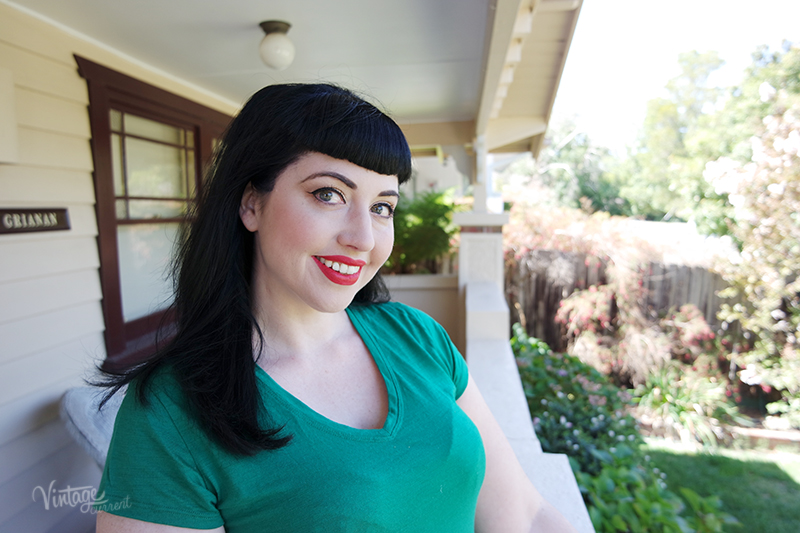
As per usual there a million stories I’ve yet to tell you and much more that will unfold over the coming months, but today is about two brave things I’m embarking on. Yes, there is new hair! I haven’t had a fringe for more years than I can count, and even though I love the look, I’ve avoided it as it can be quite stereo typical in the whole “Pin Up” scene. But after playing around with my faux fringe / bangs for a while there, I came to the conclusion that I should just do it because I love the way it looks. Avoiding things just because they can be seen as cliche and missing out on something you truly love, seems a great way to be an idiot. Just like those other things I said I’d never do, e.g Cowboy boots, which I now adore! So I did it.
It may not seem like much, especially given some of the more extreme hair adventures I’ve had in the past, but I really needed the change. I needed, in the wise words of Taylor Swift, to “Shake it off”.
The other big adventure on the horizon is truly that; and ADVENTURE!
On the [dt_highlight color=””]25th March I’m heading across to the USA for a two month tour! [/dt_highlight]
There is still much of the itinerary to be confirmed but I would simply love to organise a meet up with you guys in various places. I’ll be on both the east and west coast between that time and the end of May.
The plan is to not only relax and take in all the sights, but also to do loads of blogging on the road, meeting up with other vintage enthusiasts, checking out some of the most iconic venues and places, as well as having a bit of a chat about what I do at various conferences.
So here’s what I need your help with; if you’re located in any of these cities and would be up for helping me to organise some meet and greet sessions for other vintage enthusiasts as well as just bloggers in general, PLEASE contact me!
[dt_button size=”medium” animation=”none” icon=”” icon_align=”left” color=”” link=”” target_blank=”true”]I’ll be in: Philly, Las Vegas, Los Angeles, San Fransisco, Denver[/dt_button]
by Candice DeVille | Feb 28, 2015 | CDV Vintage Salon, Vintage Weddings
I realised the other day that I’ve not shared my vintage styling work with you all in quite a while, and as it has been keeping me so very busy, it was overdue!
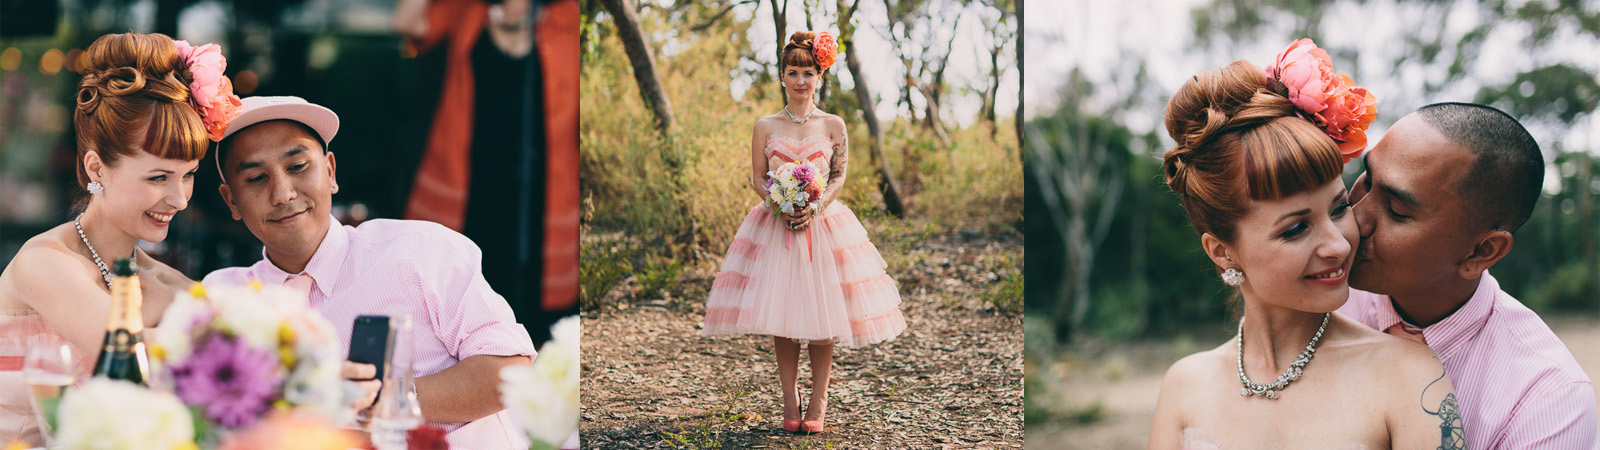
Valentines Day weekend was one of our busiest in a long time. The team and I rocked up to Ballarat in country Victoria to run a mini beauty salon for the Ballarat Beat Rockabilly Festival. I’ve learnt (the hard way) that these festivals are not something where you can combine business with pleasure. After eight or more solid hours on your feet, transforming ladies into visions of retro loveliness, what you really need is a cup of tea and a good lie down!
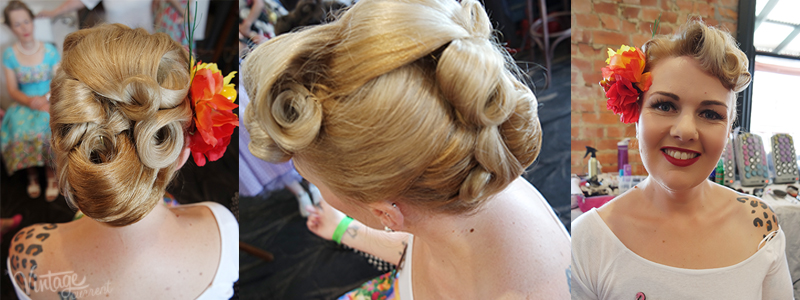
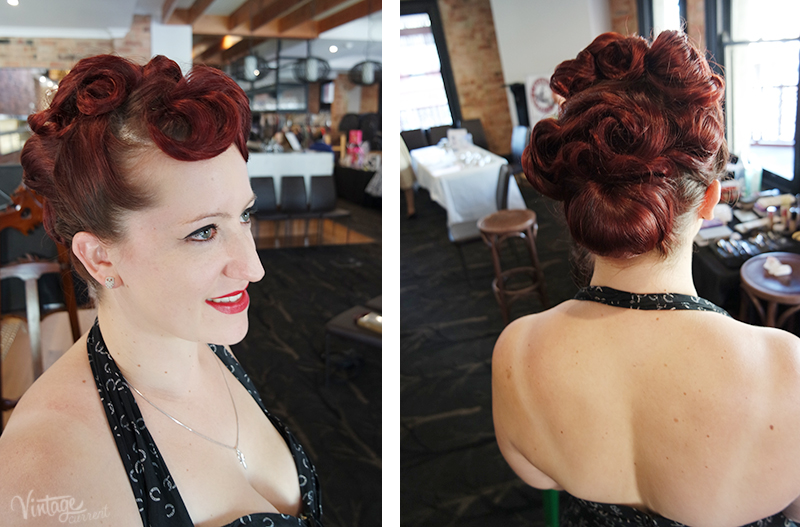
What I find particularly rewarding about these events is the diversity of women who come to see us. Women of all ages and very different backgrounds. Those who love makeup and getting dressed up on a regular basis, as well as those who haven’t touched a makeup brush in decades! Seeing the looks of delight as we reveal the transformations and the warm, heartfelt letters of thanks we received in the following week, is a reward beyond measure.
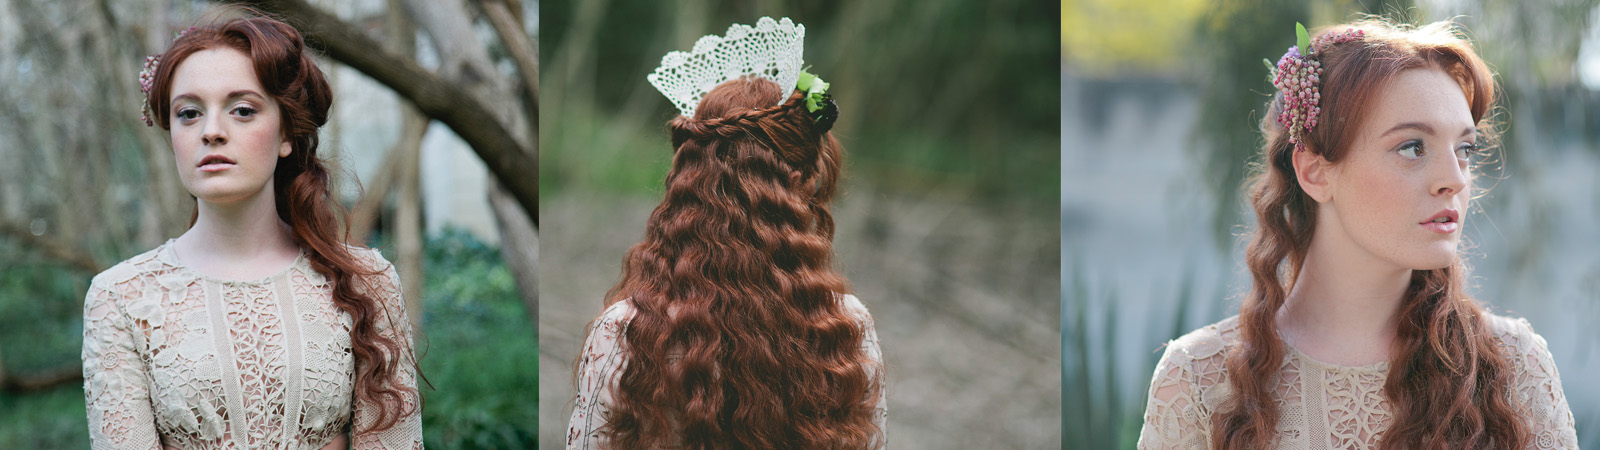
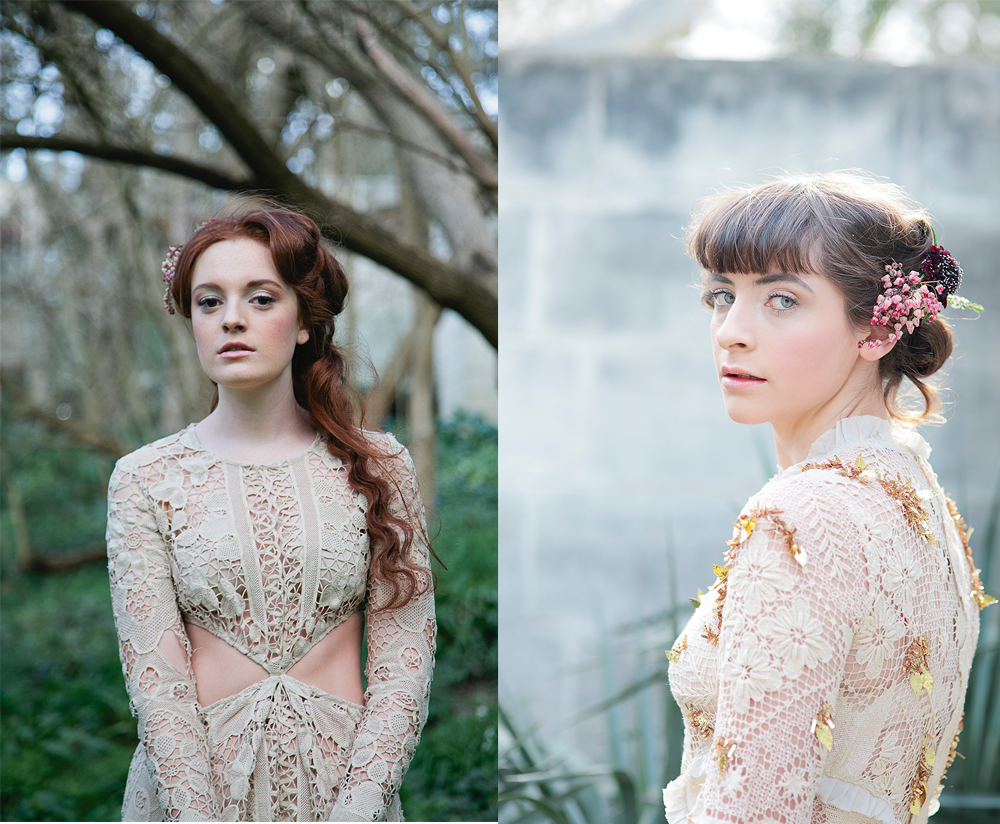
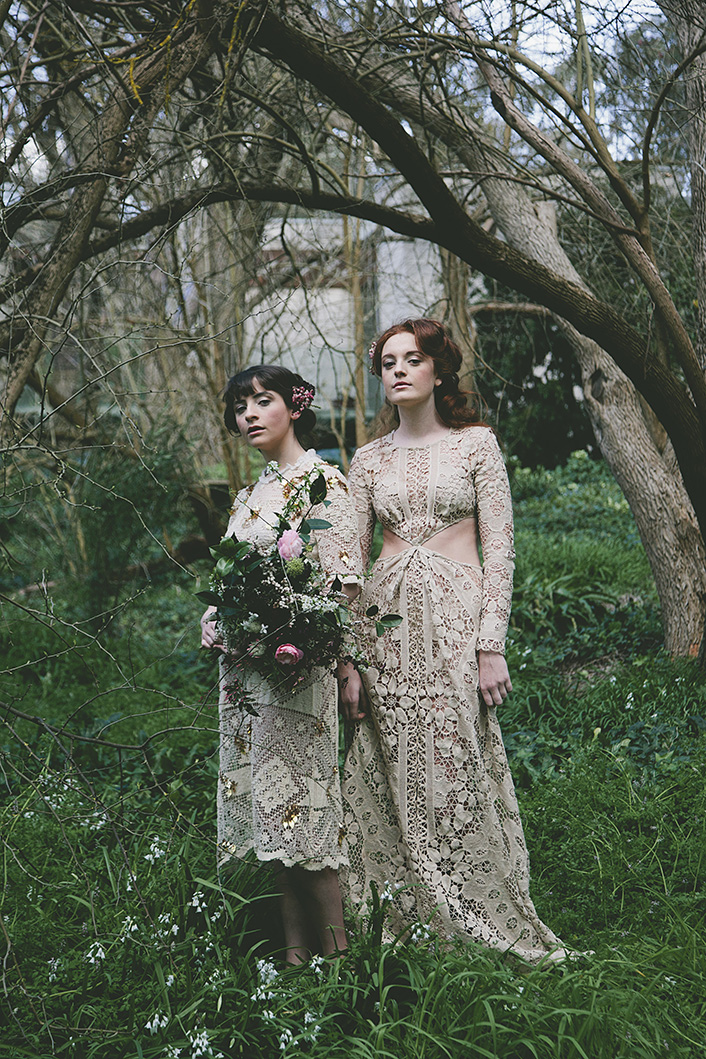
Seeing our work appear in bridal blogs and magazines is an honour I don’t think I’ll ever get used to. I had the pleasure of working with It’s Beautiful Here for an editorial shoot in Hello May. With beautiful gowns by Neveka, the ladies created a Jayne Eyre inspired bridal feel; complete with overgrown woodlands and wild flowers.
Working on Weddings and other special occasions is such an immense honour and privilege. Being invited in to someone’s personal space and helping them to create a perfect memory of their day, is nothing short of marvellous. Seeing the excitement, nerves and joy all bundled together in a room full of happy women as they prepare to make the big leap. Best friends tell stories of their years together and anxious family members potter about the kitchen making tea and sandwiches to keep themselves busy and focused.
While I’m often not there to see the final walk down the aisle, the pure joy and emotion that comes back from these talented photographers is something I’ll always treasure. My team and I travel all over the countryside (indeed all over Australia), bringing our brushes to bear on bridal parties of all backgrounds and ages.
This beautiful wedding was shot by Eric Ronald and featured in Rock N Roll Bride.
Now, as I look toward the rest of 2015, I’m planning out dates for our full day hair and makeup workshops for cities all around Australia. So if you would like to come and play with me one day, drop me a line!

by Candice DeVille | Nov 24, 2014 | Hair
Last Thursday I posted an image on my Facebook page of my Mother and I at Christmas when I was a child. I think I must have been about three years old and I had my signature heavy fringe hairstyle. In Australia we call those bits you cut at the front of your hair “Fringes” not “Bangs”, but for the sake of this global audience I’ve included both terms.
Anyway, throughout most of my childhood I sported this look, and I wasn’t until I was sixteen that I grew them out, preferring the Morticia Addams look. I cut them in once again at about nineteen when I desperately wanted a Pulp Fiction hair cut, (not a wise choice for someone with thick naturally curly hair), and then again when I was pregnant with baby number one. Those two most recent time I came to the conclusion that it just wasn’t for me, but I know realise that other factors were at play in my dislike of the look. (The lack of a straightening iron and a very puffy face). So I decided to play around again last week.
About twelve months ago, I popped out to the shops to make the purchase of a synthetic (and therefore inexpensive) set of faux bangs. For $14 I purchased my jet black fringe and headed home to see what I could do with it.
Out of the packet they are very long, generally with an inverted ‘U’ shape. Never wear them straight out of the packet. Instead the best way to get a feel for what you want is to try them on.
Try different positions for the base, making sure it is back far enough to secure properly into your own hair; I like to secure mine right at the top. Then have a bit of a play with it uncut, to determine the ideal length for your face. Now while I advise seeing a hairdresser to do the next bits, this is something that, as a hairstylist, I did myself.
Once I had tied my own hair securely out of the way so there was no chance of accidentally cutting any stray pieces, I securely clipped the fringe into the position I wanted the base to start. Then I cut in the ‘U’ shape I wanted. However, all these fringe (or bang) pieces are very flat, not giving the bounce I’d like. Being synthetic, they don’t advise heat styling, but I was prepared to risk my $14 to test this out for you.
Using my curling wand set to the low temperature of 115 degrees celcius, I curled the piece to get just enough lift and bounce. I allowed plenty of time for the heat to penetrate and handled it with care.
The overall results are fantastic! In fact I’ve been so happy with how these turned out, looking natural and bouncy, I’m very tempted to cut it into my real hair! Still, I like the versatility of having my hair in this long midi as it makes it better for creating tutorials for you.
But what do you think, like it?
And for those who asked on social media, heck yes faux bangs are a legit thing! Have fun with your hair!
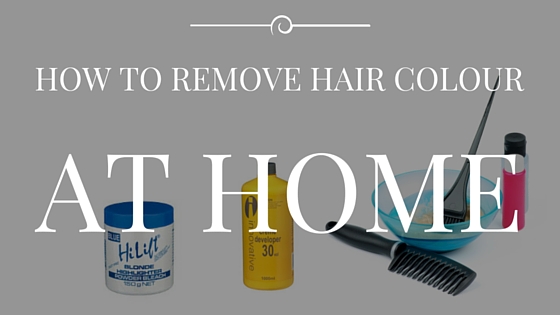
by Candice DeVille | Jun 26, 2014 | Beauty Advice & Tips, Hair
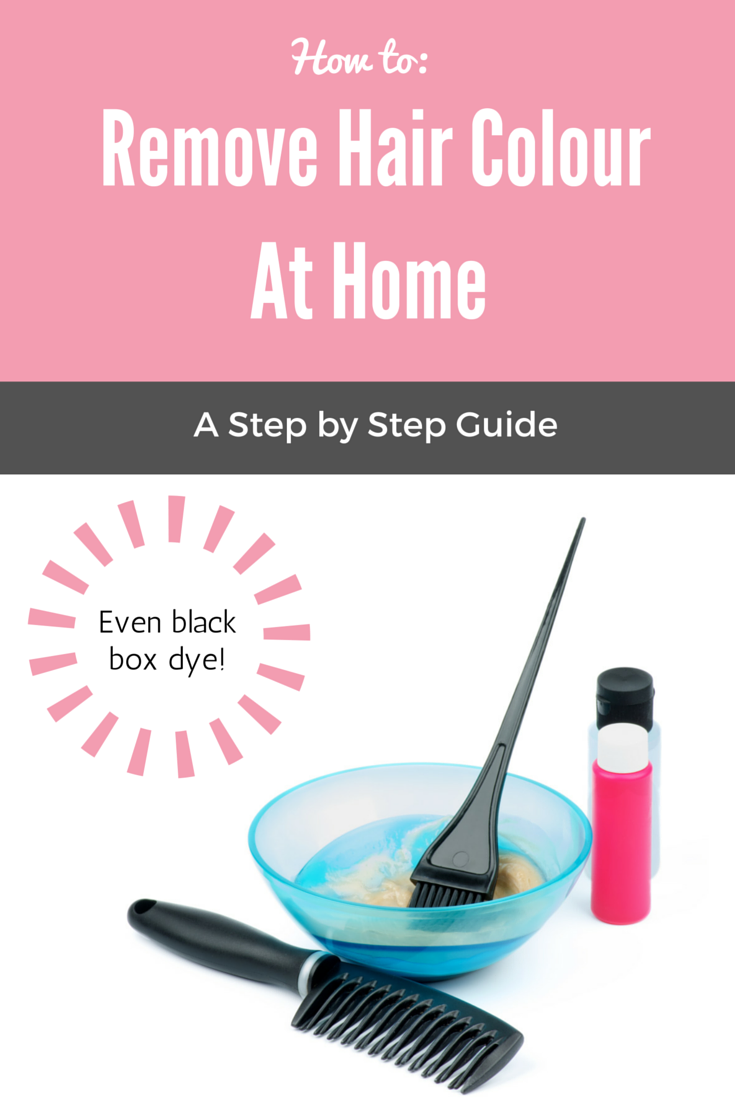
You’ve made a mistake, you’re tired of looking the same or some other woe has befallen your hair colour. Never fear, there are ways to remove the colour and start again.
Before we begin it is important to understand that their are two main categories for hair colour removal and you need to know where you belong.
1. Hair that has been coloured in the past 24-48 hours.
2. Hair that has been coloured for weeks.
If you are in group one, your hair colour will be easier to remove as it hasn’t had as much time to ‘lock’ into the hair. If you’re in group two, you’ll need more patience and understand that there is no safe overnight solution.
If your hair has been coloured with red or purple pigments, these are the hardest to remove. But even if you’ve been colouring your hair with a supermarket brand black dye, I can show you just how to remove it and get your hair ready for it’s new colour. How do I know this? Not just hairdressing theory, but by putting myself and my own hair on the line in the name of science to test my methods.
The key to successful colour stripping is time and patience. If you want hair that feels and looks healthy, there are no short cuts.
Are you skilled enough to do this yourself?
If you can follow instructions accurately, like baking a cake, you’ll be able to do this yourself. If not, leave it to the professionals but know that the right results will really cost you.
Products you’ll need
- Sulphate based shampoo, look for Sodium Laurel / Laureth sulphate on the ingredient listings. This is a harsh cleanser (also used for engine degreaser) that is found in the majority of cheap shampoo brands. I would not recommend using a daily shampoo with this ingredient, but for our purposes it is just right.
- Bleach powder
- Peroxide at 20 vol. (No more than 20 -30 vol. if you don’t want to end up with nasty, broken straw hair)
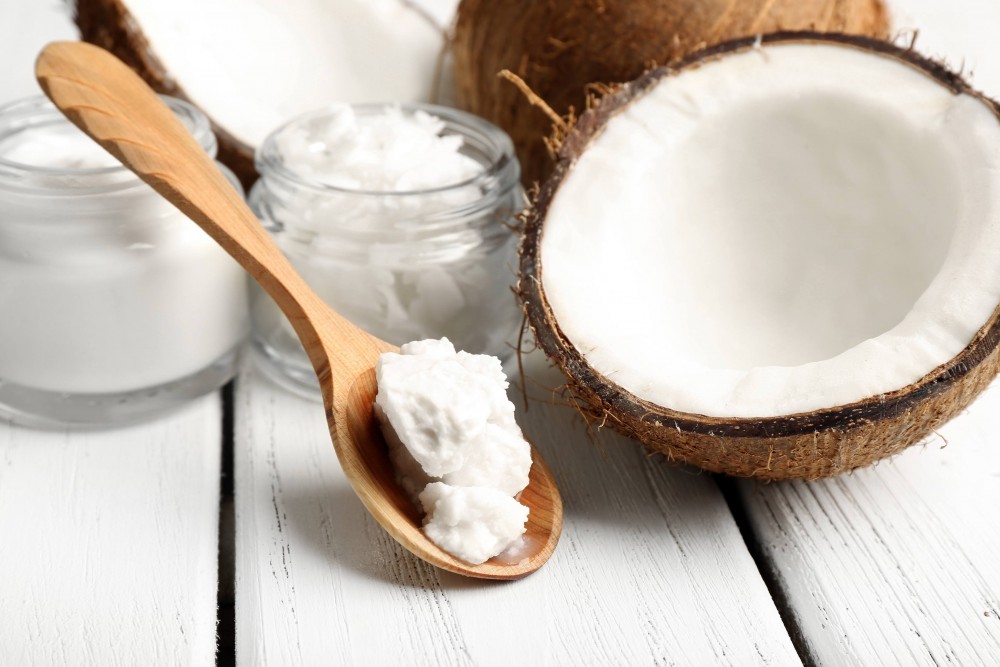
- Coconut oil.
Tools you’ll need
- 2 ceramic of plastic mixing bowls NOT METAL
- Disposable gloves
- A tint brush
- Digital scales
- Hair sectioning clips
- Shower cap x2
- Timer
It is important to understand that if you want the best results, you’ll need to do this gradually. You won’t be going from black to golden blonde overnight, you’re more likely to go bald if you try this!
Depending on how dark your hair is now, the lighter the colour you want to end up with, the longer this process will take. When I decided to strip the black dye from my hair, I allowed myself a full two weeks of stripping time before I even attempted to put another colour into it. But what to do when you’re in that nasty in between stage? That’s where things like my How to Tie a Headscarf video comes in handy. And if you’re doing this over the winter months, berets are a god send!
Before you begin.
It is important to do an allergy test. To do this, mix a small about of bleach and developer (peroxide) in equal parts, onto a cotton tip. Apply this in a thin film the the inside of your elbow, then leave for a few hours to determine if you have a reaction. Make sure to wash this off.
Also, remember you are about to bleach your hair and bleach is not discerning. So make sure you cover your work area, wear appropriate old clothes or towels to protect yourself.
There will be two different scenarios for those of you wanting to remove colour from your hair.
Type 1 – Your colour has been in for less than 48 hours and needs to be lightened.
Type 2 – You are removing permanent/ or semi permanent colour that you have been using for a while.
Here’s how:
Step 1
For Type 1 scenario, first wash your hair several times with a sulphate based shampoo. This is common in all the cheap supermarket brands, (it’s also used as an engine degreaser) and really is not the best option for day to day use. You’ll find it in the same concentration in anti dandruff shampoos as you will in other cheap brands. Here is what to look for on the ingredient listing:
Sodium Laurel (or Laureth) Sulphate
After you have washed your hair several times, (do not condition) towel dry your hair until it is damp before moving onto step two.
If you are a Type 2 scenario, you don’t need to wash your hair, just spray a bit of water to make it damp but not wet, then proceed to step two.
Step 2
Prepare your mixtures. Add your shampoo into the first ceramic bowl; how much you use depends on how much hair you have. You may find you need up to a full cup of shampoo in this bowl as you’ll be using this as the basis for the bulk of your mixture.
To prepare your bleach mixture into the second ceramic bowl, first put your empty bowl onto your digital scales and zero out. Then add 30g (or 1 oz) of bleach powder and 30g (1 oz) of 20 vol. developer / peroxide lotion. Using your tint brush, mix these together to form a uniformed coloured paste. BEWARE this is gives off strong fumes and you’ll need to do this in a well ventilated area.
Step 3
Add the bleach mixture into your shampoo mixture bowl, and mix them all together until they also form a uniform colour and smooth paste.
Step 4
Start applying the mixture with the tint brush at the top section of your hair, sectioning as you go and work your way all the way to the bottom section. Once all of your hair is covered with the mixture, massage in in from roots to tips so not parts are missed.
Step 5
Using your sectioning clips, clip your hair up and cover with your shower cap. The heat from your scalp will help speed up the developing time and the cap will stop any mess.
Step 6
SET YOUR TIMER for 20 minutes. You will be able to feel your scalp tingle as the mixture works, but it should not be painful or burning (if you have successfully performed your allergy test and have mixed according to the instructions). Your roots will ‘lift’ faster than the rest of the hair shaft, the ends take longer. This is because of the colour build up inside the hair shaft as you head towards the ends.
Step 7
Check your hair to see if it has lifted to your desired level of lightness within that 20 minute time frame. If not, leave the mixture on for 10 more minutes, no longer!
Step 8
Wash the mixture thoroughly from your hair, you also won’t need to use conditioner at this stage. Your hair will feel quite strange and grippy at this point. Towel dry until your hair is damp.
Step 9
Using liberal amounts of your coconut oil, coat the whole head of hair from root to tips, massaging into your scalp. Once your whole hair is filled with the oil, replace a clean shower cap over your hair so you’re able to sleep with the oil in and not make a mess. Once again, the shower cap will help your head retain its natural heat and improve the benefits of the oil therapy.
Step 10
The next morning simply shampoo the oil out of the hair and condition as normal. Repeat this coconut oil treatment for the next 72 hours in order to fortify the hair with protein before attempting to add new colour.
When I decided to remove the jet black from my hair and go blue instead, I repeated this process slowly over two weeks in order to get my hair light enough and ready to take the new colour. By taking things slowly, I was able to achieve the perfect new colour and still have strong, shiny and healthy hair. Yes, this did mean that I had really nasty yellow / orange hair for a while there, but with the help of scarves, berets and hats; I was able to bide my time.
The whole process of changing my hair from black to the perfect navy blue has actually taken me six weeks. By doing it myself, I was able to not only save a heap of money, but I was able to take the time I needed to achieve the perfect finish. My total cost came in around $20, instead of a process that would have taken several visits and $$$ at the salon.
If you have any stories to add or would like to ask any specific questions about colour removal, go for it in the comments!
by Candice DeVille | Oct 7, 2013 | Beauty Advice & Tips, Hair, watch me
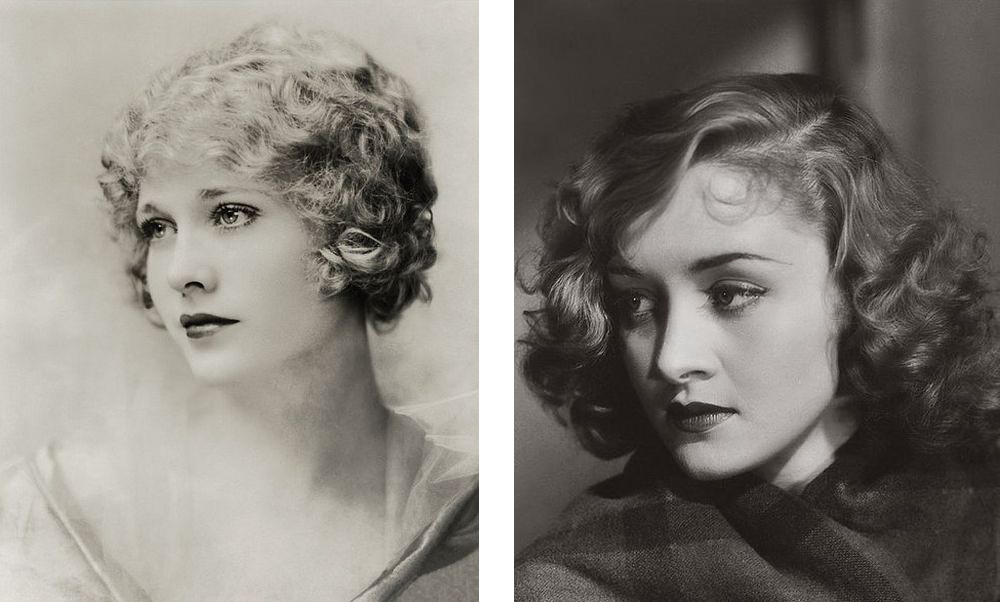
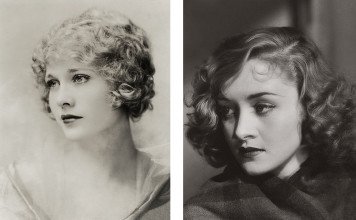
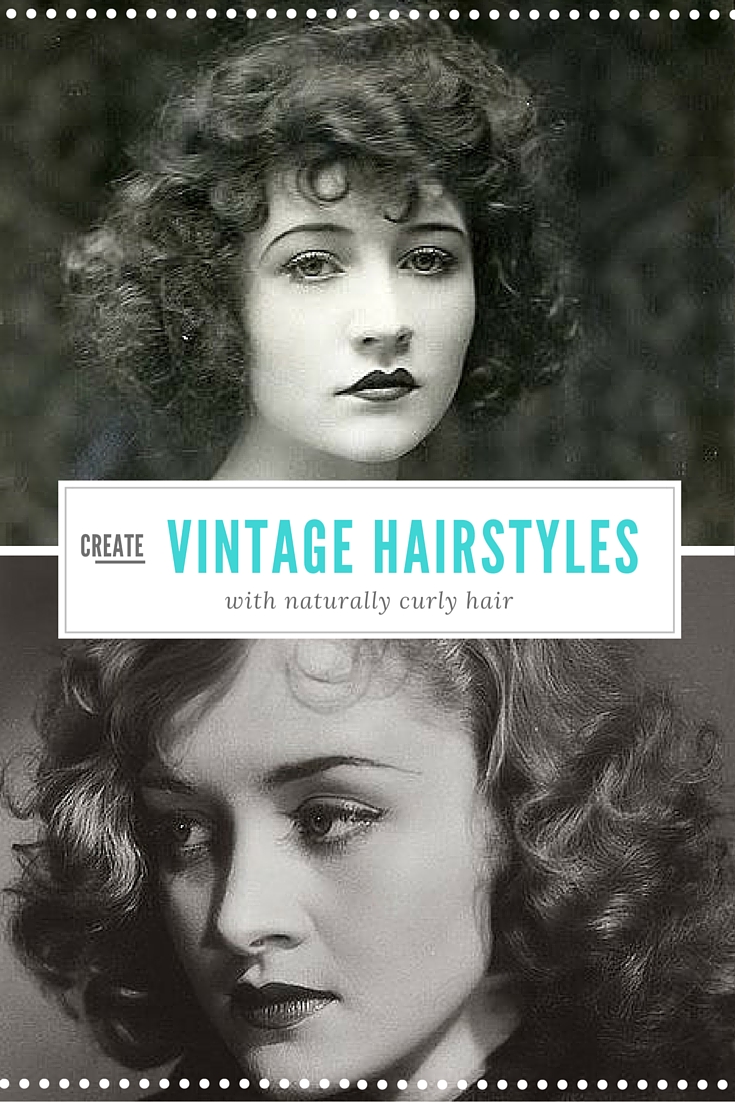
Creating vintage hairstyles with naturally curly hair is easier than you think.
I’m always surprised when I have clients with naturally curly hair, that they have so little idea what to do with it. Then I remind myself; I used to have hair like this when I was younger and had just as much frustration. I would iron it, gel it, slick it and go to bed wearing a hat, all in the hopes of waking up with perfect locks. It wasn’t until I began to learn the secrets of vintage hair styling that I realised just how lucky I was to have naturally curly hair!
In today’s episode of Ask The Editor, we look at a viewers question in regard to vintage hairstyling for naturally curly hair.
Everyone has varying opinions on this topic, but in my experience with hundreds of clients over the years, I can comfortably say that yes, there are simple and fast ways to create vintage hairstyles with naturally curly hair.
If you have curly hair and can add some of your own feedback for us, please join the conversation!
Over the week I’ve also had a bunch of questions about the scarf I use when setting my hair, so I’ve also included some simple to follow instructions on the DIY headscarf you saw me wearing here- Middy Haircut and Setting tutorial.
Making your own scarves is very simple and rewarding. It’s a very quick and inexpensive way to change up an outfit and hide a multitude of hair sins.
If you have more tips for Mona D on how to wear her curly hair in a vintage style, make sure to add your comments to the video where everyone can see them.