by Candice DeVille | Jun 26, 2014 | Beauty Advice & Tips, Hair
You’ve made a mistake, you’re tired of looking the same or some other woe has befallen your hair colour. Never fear, there are ways to remove the colour and start again.
Before we begin it is important to understand that their are two main categories for hair colour removal and you need to know where you belong.
1. Hair that has been coloured in the past 24-48 hours.
2. Hair that has been coloured for weeks.
If you are in group one, your hair colour will be easier to remove as it hasn’t had as much time to ‘lock’ into the hair. If you’re in group two, you’ll need more patience and understand that there is no safe overnight solution.
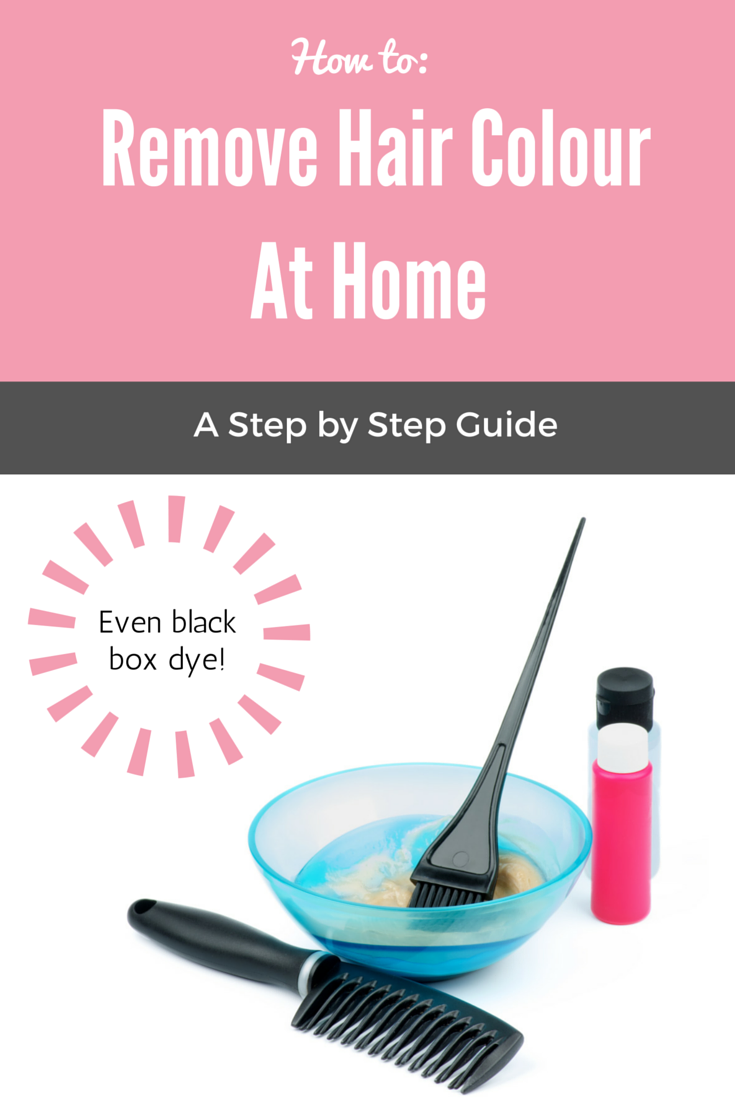
If your hair has been coloured with red or purple pigments, these are the hardest to remove. But even if you’ve been colouring your hair with a supermarket brand black dye, I can show you just how to remove it and get your hair ready for it’s new colour. How do I know this? Not just hairdressing theory, but by putting myself and my own hair on the line in the name of science to test my methods.
The key to successful colour stripping is time and patience. If you want hair that feels and looks healthy, there are no short cuts.
Are you skilled enough to do this yourself?
If you can follow instructions accurately, like baking a cake, you’ll be able to do this yourself. If not, leave it to the professionals but know that the right results will really cost you.
Products you’ll need
- Sulphate based shampoo, look for Sodium Laurel / Laureth sulphate on the ingredient listings. This is a harsh cleanser (also used for engine degreaser) that is found in the majority of cheap shampoo brands. I would not recommend using a daily shampoo with this ingredient, but for our purposes it is just right.
- Bleach powder
- Peroxide at 20 vol. (No more than 20 -30 vol. if you don’t want to end up with nasty, broken straw hair)
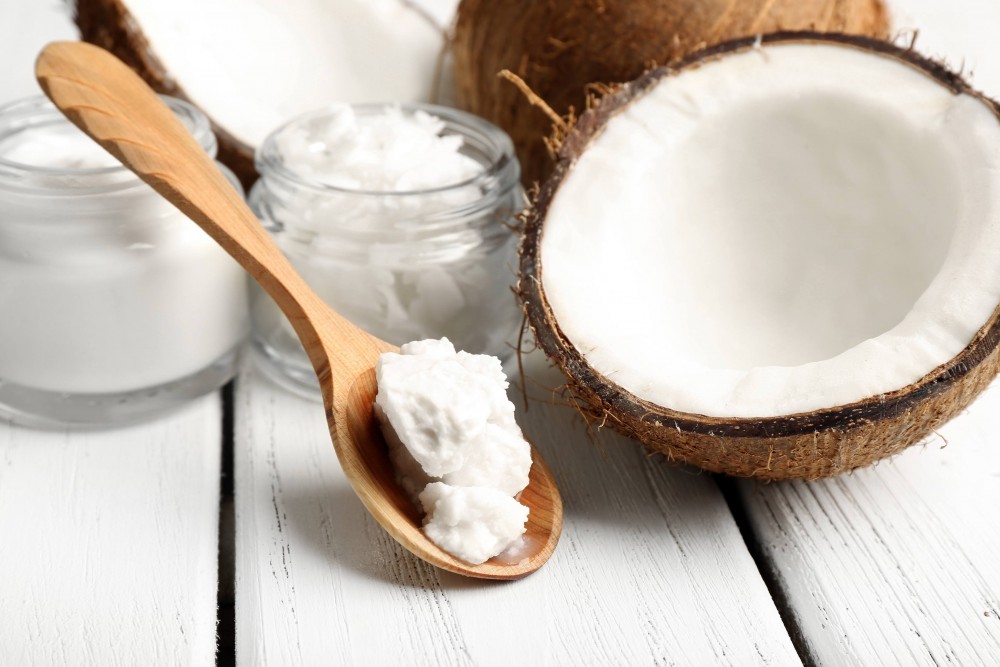
- Coconut oil.
Tools you’ll need
- 2 ceramic of plastic mixing bowls NOT METAL
- Disposable gloves
- A tint brush
- Digital scales
- Hair sectioning clips
- Shower cap x2
- Timer
It is important to understand that if you want the best results, you’ll need to do this gradually. You won’t be going from black to golden blonde overnight, you’re more likely to go bald if you try this!
Depending on how dark your hair is now, the lighter the colour you want to end up with, the longer this process will take. When I decided to strip the black dye from my hair, I allowed myself a full two weeks of stripping time before I even attempted to put another colour into it. But what to do when you’re in that nasty in between stage? That’s where things like my How to Tie a Headscarf video comes in handy. And if you’re doing this over the winter months, berets are a god send!
Before you begin.
It is important to do an allergy test. To do this, mix a small about of bleach and developer (peroxide) in equal parts, onto a cotton tip. Apply this in a thin film the the inside of your elbow, then leave for a few hours to determine if you have a reaction. Make sure to wash this off.
Also, remember you are about to bleach your hair and bleach is not discerning. So make sure you cover your work area, wear appropriate old clothes or towels to protect yourself.
There will be two different scenarios for those of you wanting to remove colour from your hair.
Type 1 – Your colour has been in for less than 48 hours and needs to be lightened.
Type 2 – You are removing permanent/ or semi permanent colour that you have been using for a while.
Here’s how:
Step 1
For Type 1 scenario, first wash your hair several times with a sulphate based shampoo. This is common in all the cheap supermarket brands, (it’s also used as an engine degreaser) and really is not the best option for day to day use. You’ll find it in the same concentration in anti dandruff shampoos as you will in other cheap brands. Here is what to look for on the ingredient listing:
Sodium Laurel (or Laureth) Sulphate
After you have washed your hair several times, (do not condition) towel dry your hair until it is damp before moving onto step two.
If you are a Type 2 scenario, you don’t need to wash your hair, just spray a bit of water to make it damp but not wet, then proceed to step two.
Step 2
Prepare your mixtures. Add your shampoo into the first ceramic bowl; how much you use depends on how much hair you have. You may find you need up to a full cup of shampoo in this bowl as you’ll be using this as the basis for the bulk of your mixture.
To prepare your bleach mixture into the second ceramic bowl, first put your empty bowl onto your digital scales and zero out. Then add 30g (or 1 oz) of bleach powder and 30g (1 oz) of 20 vol. developer / peroxide lotion. Using your tint brush, mix these together to form a uniformed coloured paste. BEWARE this is gives off strong fumes and you’ll need to do this in a well ventilated area.
Step 3
Add the bleach mixture into your shampoo mixture bowl, and mix them all together until they also form a uniform colour and smooth paste.
Step 4
Start applying the mixture with the tint brush at the top section of your hair, sectioning as you go and work your way all the way to the bottom section. Once all of your hair is covered with the mixture, massage in in from roots to tips so not parts are missed.
Step 5
Using your sectioning clips, clip your hair up and cover with your shower cap. The heat from your scalp will help speed up the developing time and the cap will stop any mess.
Step 6
SET YOUR TIMER for 20 minutes. You will be able to feel your scalp tingle as the mixture works, but it should not be painful or burning (if you have successfully performed your allergy test and have mixed according to the instructions). Your roots will ‘lift’ faster than the rest of the hair shaft, the ends take longer. This is because of the colour build up inside the hair shaft as you head towards the ends.
Step 7
Check your hair to see if it has lifted to your desired level of lightness within that 20 minute time frame. If not, leave the mixture on for 10 more minutes, no longer!
Step 8
Wash the mixture thoroughly from your hair, you also won’t need to use conditioner at this stage. Your hair will feel quite strange and grippy at this point. Towel dry until your hair is damp.
Step 9
Using liberal amounts of your coconut oil, coat the whole head of hair from root to tips, massaging into your scalp. Once your whole hair is filled with the oil, replace a clean shower cap over your hair so you’re able to sleep with the oil in and not make a mess. Once again, the shower cap will help your head retain its natural heat and improve the benefits of the oil therapy.
Step 10
The next morning simply shampoo the oil out of the hair and condition as normal. Repeat this coconut oil treatment for the next 72 hours in order to fortify the hair with protein before attempting to add new colour.
When I decided to remove the jet black from my hair and go blue instead, I repeated this process slowly over two weeks in order to get my hair light enough and ready to take the new colour. By taking things slowly, I was able to achieve the perfect new colour and still have strong, shiny and healthy hair. Yes, this did mean that I had really nasty yellow / orange hair for a while there, but with the help of scarves, berets and hats; I was able to bide my time.
The whole process of changing my hair from black to the perfect navy blue has actually taken me six weeks. By doing it myself, I was able to not only save a heap of money, but I was able to take the time I needed to achieve the perfect finish. My total cost came in around $20, instead of a process that would have taken several visits and $$$ at the salon.
If you have any stories to add or would like to ask any specific questions about colour removal, go for it in the comments!

by Candice DeVille | Jun 5, 2014 | Beauty Reviews, Tutorials-Video
I’ve been shopping again and came up with 3 fab and cheap beauty finds! Here in Australia we know that our beauty products are significantly more expensive than the rest of the world, so I’m always on the look out for effective and inexpensive alternatives to share with you.
Today I’m back on my video game, and have three fantastic finds to share with you. Some you may have heard of before and some that may surprise you!
Just which product gave me this incredibly quick and effective look? Find out in today’s video episode.
by Candice DeVille | Oct 10, 2012 | Asia love, Beauty Reviews, Travel

What is the most unique spa treatment you’ve ever had? Being slathered in mud? Covered in bees wax? I think I may be able to beat that.
On my recent trip to Malaysia I had the chance to choose an indulgence from a particularly unusual menu, one I’d never seen here in Australia. At the original colonial boutique hotel, The Majestic in Malacca, they have a fabulous spa village. All the treatments are based on the Baba-Nyonya or Peranakan culture; combining both Malay and Chinese influences. The idea is that the Peranakan healing method tends to what sort of energy a person has; warm or cool, then puts them back into balance. If you’re generally a ‘cool’ energy you need warming treatments and visa versa.
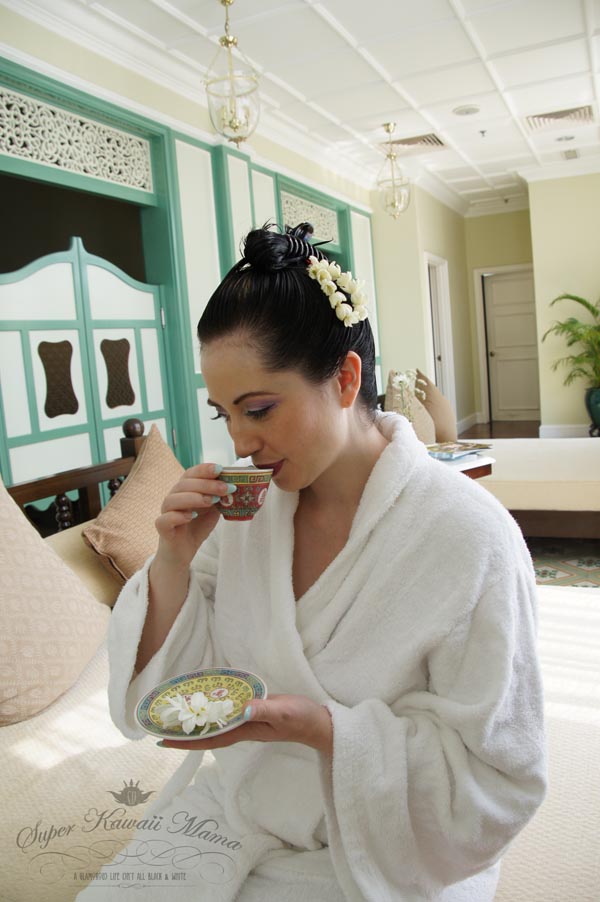
I was invited into this beautiful reception area and then gently quizzed to find out if I was a ‘warm’ or ‘cool’ type. Before I could make a decision, we were given the grand tour of this gorgeous, heritage spa facility. It is stunning!


So what treatment did I end up choosing? Well not the Nutmeg (as seen above) as it turns out I’m a ‘Warm’ type and needed cooling, so I chose the intriguingly named “Egg Rolling Massage”! I had no idea what this involved but I was told it was good for circulation, bruising ( I always get them) and stomach cramps (all that food!). Before I went off to be turned into an egg roll, I was to undergo a special hair washing and combing ceremony that was traditional performed on brides prior to their wedding. This is pure bliss!


I lay there relaxed, but also highly amused, as in the ceiling was a t.v set into the plaster; so if I wanted to keep my eyes open I’d be entertained. But what I found most incredible was that they were playing film clips of Malaysian musical stars of the 1950’s and 60’s!! It was sheer heaven, like watching the Malaysian Elvis while having your head massaged. Needless to say, I was very relaxed before I went in for my massage.

After talking a short refreshment break and being adorned with fresh Jasmine ( it smelt SO good!), I was met with my unusual massage partner.

Yes, they are hard boiled eggs! The idea is that these eggs, very well boiled then shelled, are kept in a steamer to keep them warm. The massage is a progressive technique that is a combination of Balinese massage (lots of stretching), then each section of your body is rolled with these eggs.
When they first touched my skin I’d forgotten what was happening and didn’t realise they were eggs. It felt as though the therapist had a warm ball of massage oil that was slowly melting over the skin as she rolled it around. After about five minutes it dawned on me that these were the eggs. They don’t split open, it was just a sensation of the delicate spreading warmth as they moved over my skin. It is AMAZING!

I didn’t want to leave and could have easily stayed their being rolled with eggs until then sun went down. But alas, I’ll have to just come back another time and do it again. As I walked back to my room I felt so light and relaxed; and smiled as I realised that (thankfully) I smelled of fresh jasmine and not eggs!
Vintage Current travelled as a guest of Tourism Malaysia and Malaysian Airlines.
To learn more about this journey and how you could create your own, check out Travel.com.au
by Candice DeVille | Sep 21, 2012 | Beauty Advice & Tips, Skin Care, Travel
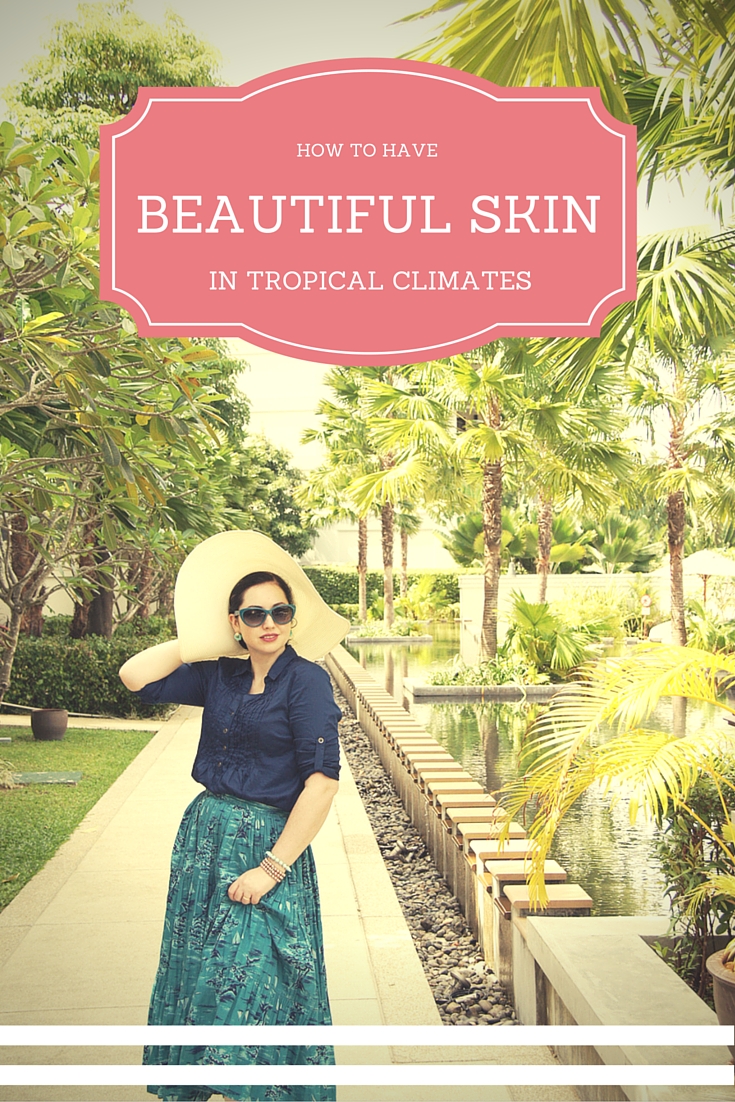 With a little bit of preparation this holiday season, you can learn how to have beautiful skin in tropical climates quite simply.
I live in Melbourne. Melbourne is anything but tropical. It can be super cold, super hot or super wet, only on the very rare occasion do we get a peek at humidity. So you’d think I’d never have to worry about this, but my love of travel and adventure takes me all kinds of places, most frequently the humid ones.
Taking excellent care of my skin is key to looking good in these environments, and while makeup can also be more challenging when it is humid, having the right foundation makes all the difference.
“Taking excellent care of my skin is key to looking good in these environments”
Today I’m sharing with you how I prepare my own ‘foundation for perfect skin’, especially when travelling. Next time I’ll show you my secrets to makeup in humid climates and how to keep it looking fresh and fantastic!
How to have amazing skin in hot and humid places.
The Keys
CLEAN skin.
Keeping your skin clean isn’t just a simple matter of a quick wash with water each morning. A thorough cleansing is required on a regular basis to prevent clogged pores and dull, uneven skin tone.
Here is my routine.
Weekly –
- Cleans face from all traces of makeup using makeup remover, skin cleanser and a face washer.
- Exfoliate using a gentle, beaded gommage product.
- Pore extraction – I use pore strips on the forehead, nose and chin to help remove and build up of sebum inside the pores. Leaving his there will cause the pores to stretch out and enlarge. The cleaner they are, the more minimal their appearance will become over time.
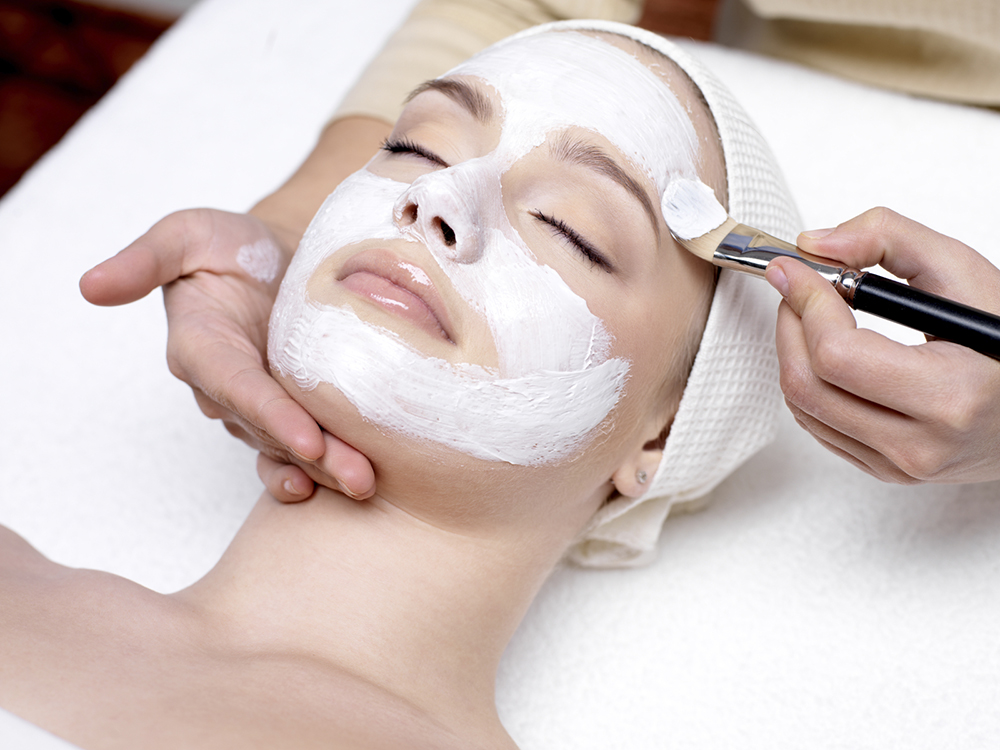
- Mask- Depending on the condition of your skin, now is the time to relax for about 20 minutes with a hydrating, toning, firming or clarifying mask.
- Feed – Apply a nutrient rich serum to your face and neck, using a specially designed eye gel for the delicate skin around your eye area.
- Moisturise- Finish off with a light application of moisturiser to the face, neck and décolletage area.
Daily-
Morning. If you’d like to see just how I do my daily skin routine, check out this short tutorial.
- Cleanse the skin using a creamy cleanser (if you have dryer or more mature skin) or a foaming cleanser (if you have younger, oily or prone to break out skin). Apply this with the tips of your fingers and massage it well to remove traces of oils that have settled on your face over night. Remove the cleanser with a warm, damp face cloth.
- Toner – For some people, using a toner is optional, but given that most of us have trouble with our skin becoming oily in humid weather, a clarification from the toner will assist with keeping the shine down during the day.
- Serum – Even if you have oil skin, you still need to feed it. A light application of a serum suited to your skin type will help restore its elasticity.
- Eye Cream – if you’re over 20 you should be using this every day. Your general face moisturiser isn’t suitable for the delicate eye area and can lead to more pronounced lines.
- Moisturiser – A lightweight, day time moisturiser should be applied over the whole face, neck and décolletage.
- Sunscreen – Always, always wear high protection factor sunscreen regardless of your skin tone. Use oil free products specifically formulated for the face. If you have pale skin or like to appear paler in images, use a sunscreen that has light reflecting Titanium Dioxide. If not, seek out products without this active ingredient.
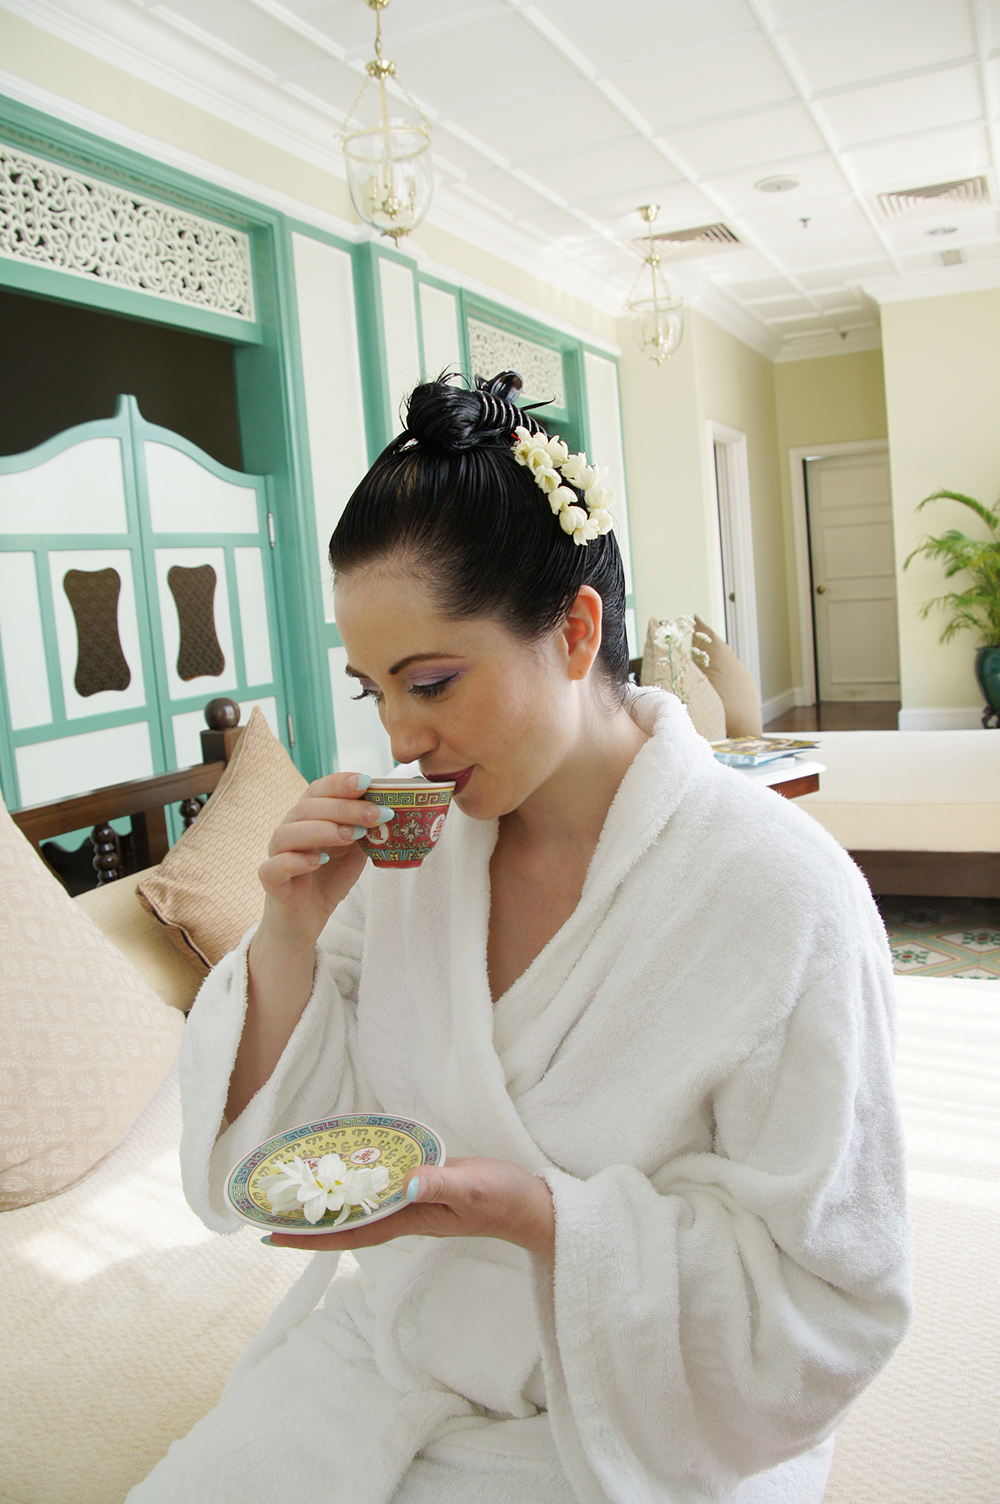
HYDRATED skin.
Hot and humid weather will quickly remove moisture from your skin as it evaporates. In these climates the amount lost can be up to triple the average of 2 litres per day. So drink up!
Make sure that you are replenishing both the water and the essential salts in your system but including isotonic drinks occasionally.
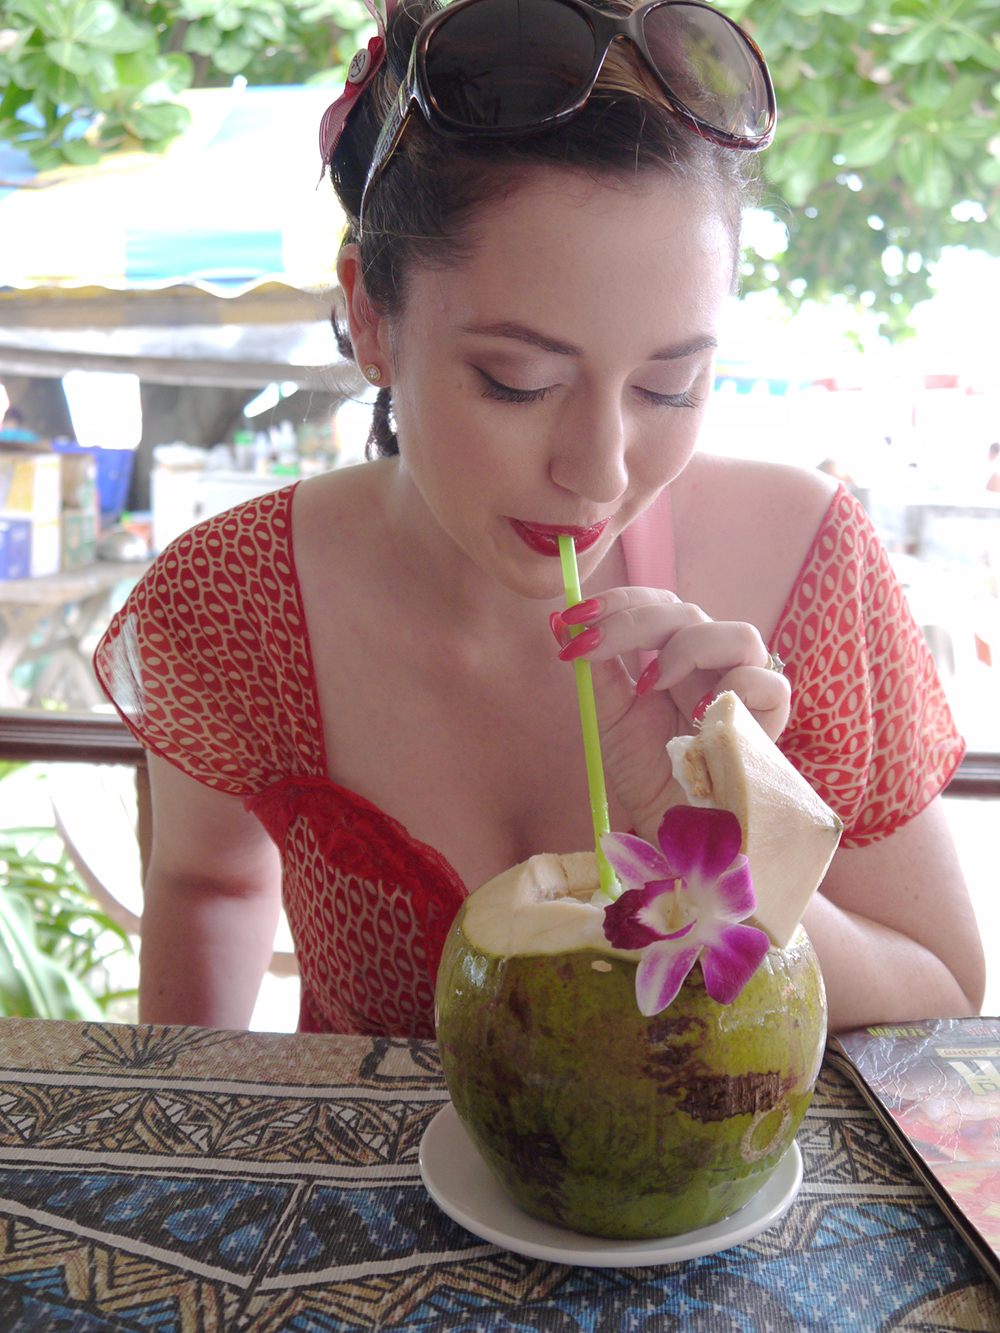
Coconut water is the most perfect natural source of vitamins and minerals that will really help you glow!
Try eating foods that have a high water content to help you keep up your hydration without getting bored. Watermelon, rockmelon, strawberries, honey dew melon; all these fruits are fantastic for a light, healthy and hydrating snack.
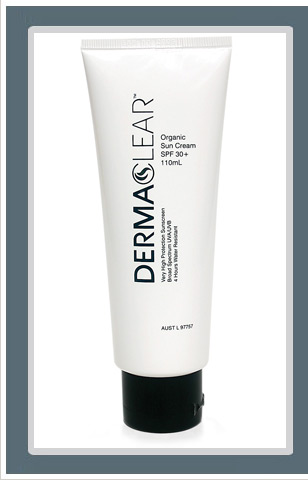
I use Dermaclear organic sunscreen
SUN PROTECTED skin.
There is a very unattractive sight often seen on holiday makers in these climates. The red skinned sunburn, or even the dark red brown tinge that shows the sever level of sun damage these vacationers have done.
Protection your skin from sun damage is essential, not just to protect from skin cancer, but also from premature ageing.
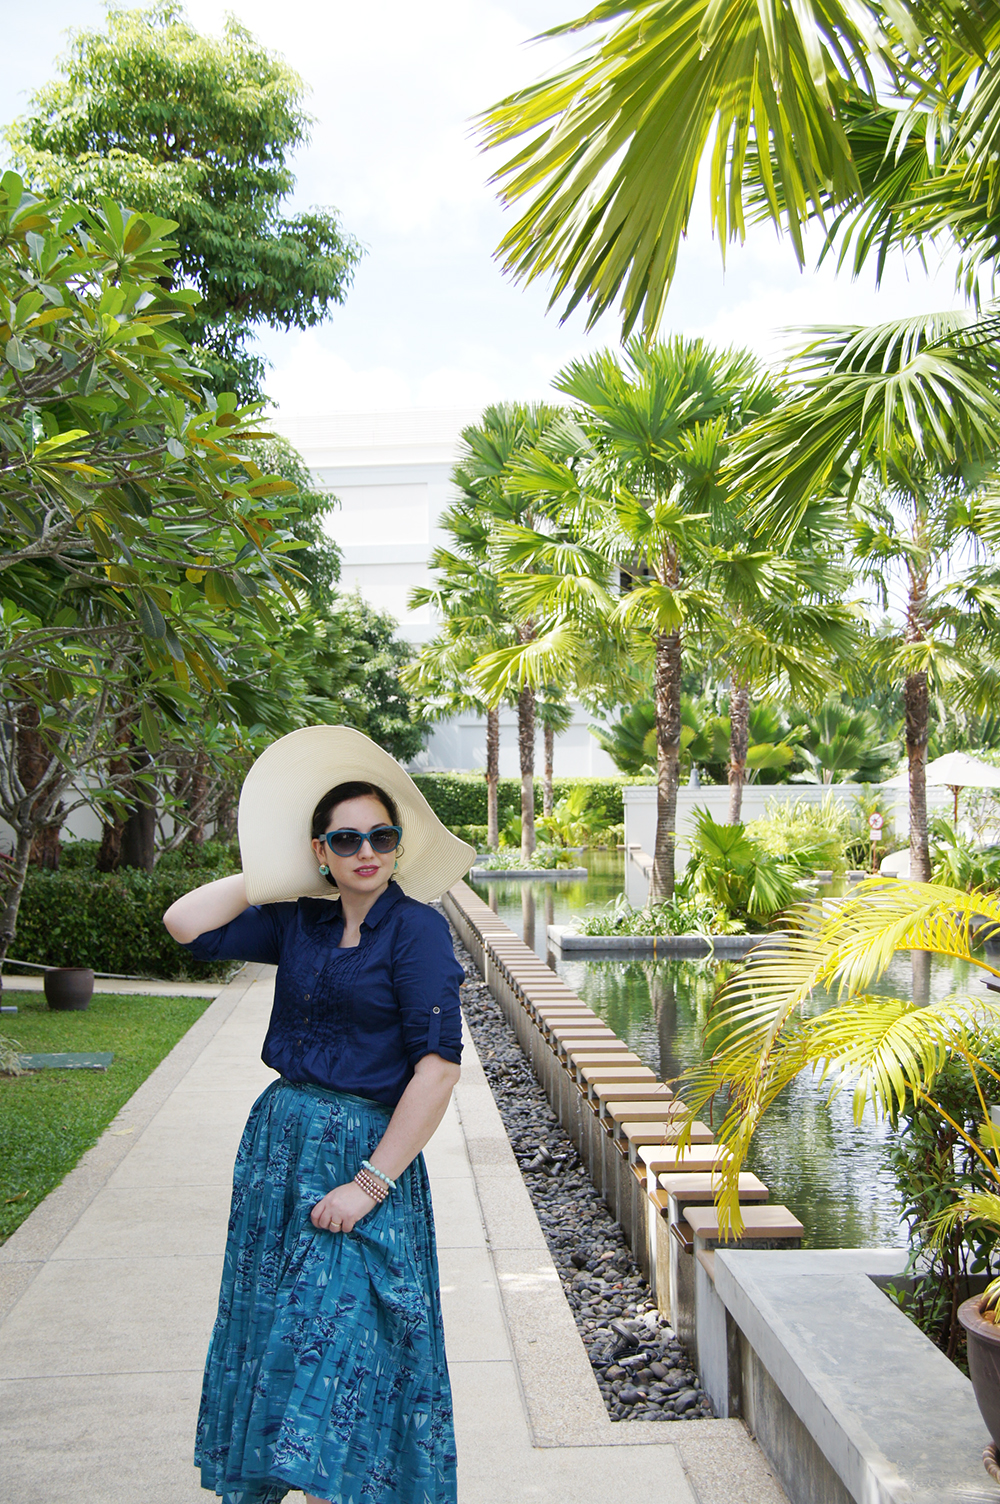
Hats, sunglasses, long sleeved and loose fitting clothing all make a big difference when combined with adequate sunscreen protection.
Having beautiful skin in tropical climates isn’t that hard really, but it is about being consistent. Once you’ve got these basics down, you can move on to the slightly more challenging; How to wear and keep your makeup on in hot and humid climates! Coming up next!
by Candice DeVille | Sep 15, 2011 | Beauty Reviews, Makeup
Are you always on the hunt for a stay on lipstick that actually works? How to get your lipstick to stay on is one of my most frequently asked questions, and unfortunately there is only so much you can do short of tattooing your lips. My everyday tips for wearing red lipstick will help you to a degree, but serious staying power? I always thought that was the realm of fantasy. Until I tried this stuff.
In my eternal quest to try all the red lipsticks on the market (how full are my bathrooms cupboards?!), the minute I saw these new Maybelline Super Stay 24 hour Colour advertised I wanted to put it to the test. My test came in two parts, as I didn’t want to invest the money off the cuff on the very slim chance it may actually work, so this is what I did.
FRIDAY
1.00pm- Wander into Target (also available at Priceline and on sale at the moment I think) and start casing the joint to uncover this new lipcolour.
1.05pm- Get distracted by liquid liners before remembering again why I was there.
1.15pm – Find the VM stand for the new Maybelline lipcolour and am amazed at the huge number of colours on offer. Which red do I want?
1.20pm – decide that before picking a colour, I should give this a proper hard core trial. So I paint a slash onto the heel of my hand, following the instructions and waiting for it to dry. this ought to be good given how many times a day I wash my hands. I wonder if it will last more than the next three hours.
6.00pm – Am marvelling to my girls that the lip colour is STILL there! What kind of thing is this?
SATURDAY
9.00am – It’s even lasted the night without any fading. Okay then you stubborn stuff, here’s a real test.
11.00am – Clean the whole house, including bathrooms without gloves on.
3.00pm – Beer and wonderment.. and also a bit of a worry. The lipstick is still there, clean and bright; what the hell is in this stuff??
After such a vigorous non facial test, I decided to give it a go and see how it lasted through eating, drinking, greasy foods and the ultimate pash. AND IT DOES!!

Here’s the thing though, none of these stay on lipsticks are going to remain highly moisture filled, so you do need to keep applying a balm over the top. When you apply it, you need to paint it on carefully with your lips somewhat stretched so they are flat. Then you have to wait about 4 minutes for it to dry and stop being sticky before applying the balm. The feeling is a little odd, like there is a bit of a barrier between you and the world, but for the results it is worth it.
While it doesn’t dry out and crack like others I’ve tried, if you don’t apply the balm, there is a tendency to chew at your lips if it gets too dry and that will simply peel the colour off. But if you can avoid doing this, you will actually have lips that last overnight! And it really doesn’t smear, smudge or kiss off!
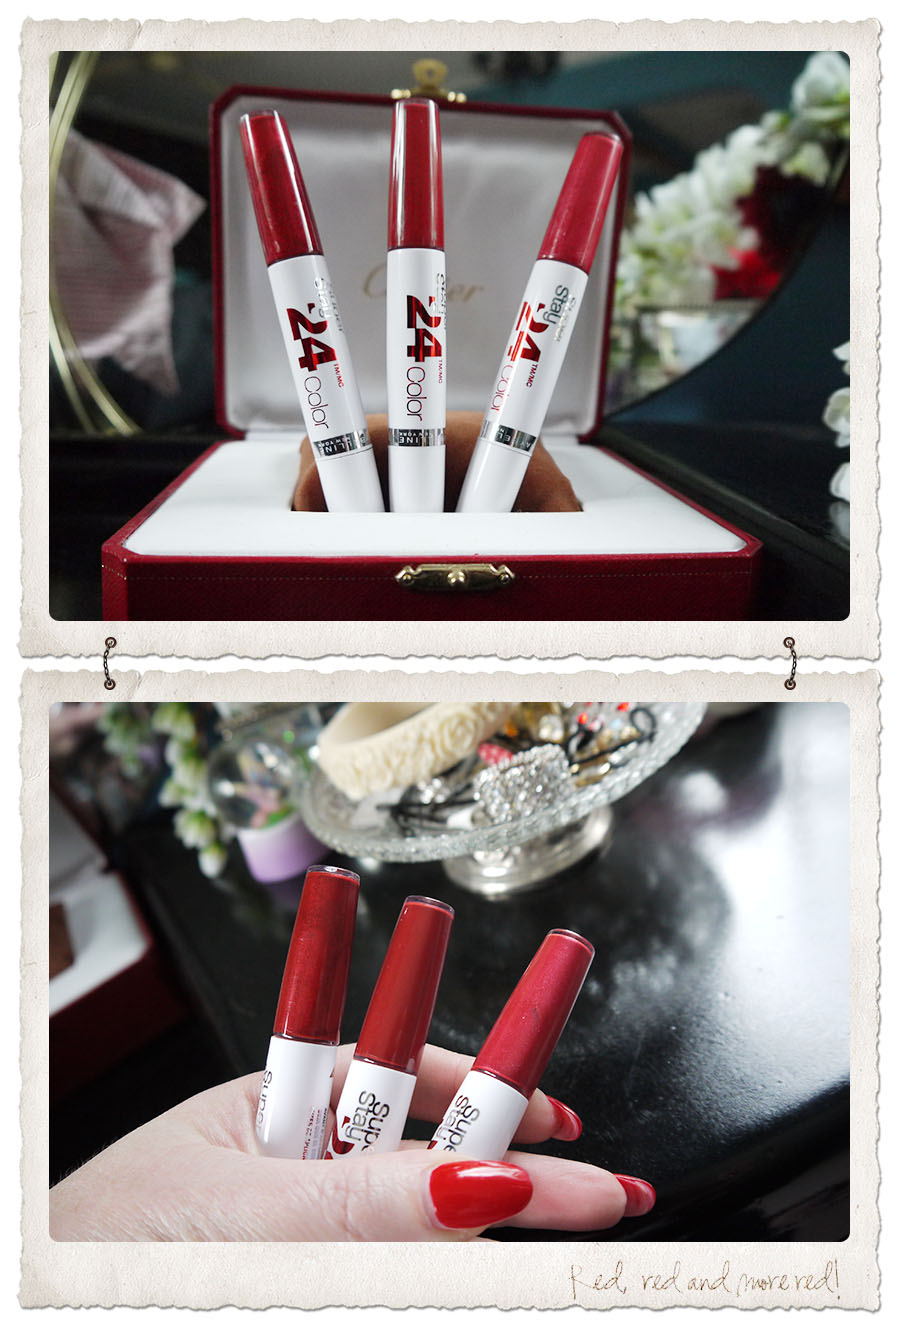
So as you can see this was a big winner for me, so much so that I bought three different reds, each fabulous!
Keep Up The Flame – A non shimmery red with an almost warm hue.
Reliable Raspberry – A more hot pink version of red.
All Day Cherry– My fast favourite with a touch of shimmer and a rich blue red, cherry hue.
(Shown in the image holding them left to right – Cherry, Flame, Raspberry. Wearing All Day Cherry.)
Verdict – At around $21.00 these are definitely worth the money and something you should have handy for big nights out or gastronomic adventures when you need to look your best.