by Helen McLean | Sep 22, 2014 | Food & Drinks
When I say crispy cookie, I don’t mean hard like packet biscuits. What makes these so crispy is the addition of oats. These are so easy to make, don’t take too long, plus they keep very well too – they stay crispy all week!
This recipe is from my 500pg book titled, ‘The Art and Soul of Baking‘ and I’m sharing my variation on the recipe:
Crispy Dark Choc Chip Cookie Recipe
Ingredients:
110g unsalted, softened butter
1/2 cup firmly packed light brown sugar
1/4 cup + 1 tbs granulated sugar
1 large egg
1 tsp pure vanilla extract
1 cup unbleached, all purpose flour
1/4 tsp baking soda
1/4 tsp baking powder
1/4 tsp salt
3/4 cup old-fashioned rolled oats (not Quick Oats!)
3/4 cup dark chocolate, roughly chopped
Variation:
Add 1/2 cup dried cranberries.
Method:
1. Pre-heat the oven to 180c and line baking trays with baking paper.
2. Mix butter & both sugars with a stand mixer on medium speed, until smooth & blended – about 2 minutes.
Add the egg and vanilla and blend well.
3. Add flour, baking soda & powder and salt. Mix on the lowest speed until there are no patches of flour.
4. Add the oats and chocolate (and cranberries), blend on low until just combined.
5. Use a small spoon to portion 2cm mounds onto the baking sheets, spacing them about 2″ apart.
Bake the cookies between 13-16 minutes.
Transfer to a cooling rack.
Storage:
Either in an airtight container, or like me – in a vintage cookie tin lined with a tea towel.
These are also great in lunch boxes throughout the week!
Original recipe ingredients and method can be found in:
Title: The Art & Soul of Baking, © 2008
By: Sur La Table with Cindy Mushet
Publisher: Andrews McMeel Publishing, LLC
Recipe: Cherry Oatmeal Cookies
Page: 274
http://www.surlatable.com/

by Helen McLean | Sep 15, 2014 | Food & Drinks
Couscous is not only light & fluffy, but just like pasta & rice, it’s very versatile too. You can keep it simple with sautéed onion, baby capers and drizzled olive oil – or dress it up with additional ingredients like pumpkin and zucchini.
This recipe is super easy and very colourful too. It’s from a book titled The Thrifty Kitchen, by Suzanne & Kate Gibbs. The book not only serves as a fantastic kitchen resource, is packed to the brim with full page recipes accompanied with photos – but it also houses a lot of quick ‘snapshot’ style recipes, no longer than a paragraph long and with no accompanying images. And that is where I found this beauty!
Moroccan Paprika Chicken
Ingredients:
2 zucchini & 250g pumpkin, diced
3 cups chicken stock
2 tablespoons preserved lemon, sliced*
2 cups instant couscous
4 chicken thigh fillets (or 3 chicken breast fillets)
*If you don’t have preserved lemon slices, still try this recipe and add lemon wedges to serve instead.
Method:
1. Boil the diced zucchini and pumpkin in the chicken stock for 5 minutes.
2. Add 1 tablespoon olive oil, preserved lemon and couscous to the pot.
3. Take off the heat and leave covered for 5 minutes.
4. Season chicken fillets and grill each side until cooked and golden.
5. Slice chicken fillets and dust with paprika.
6. Serve couscous topped with chicken slices and a sprig of mint.
by Helen McLean | Sep 2, 2014 | Food & Drinks
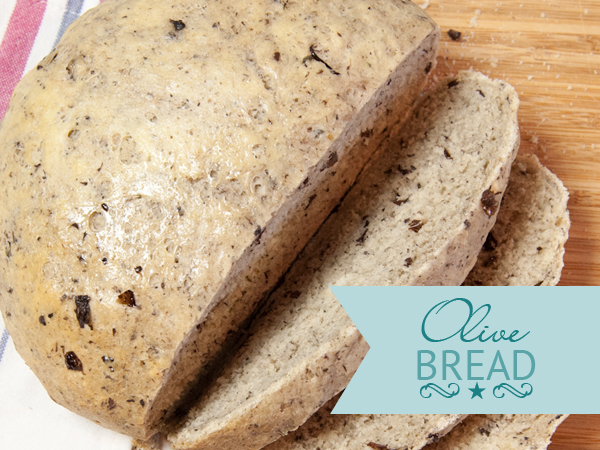
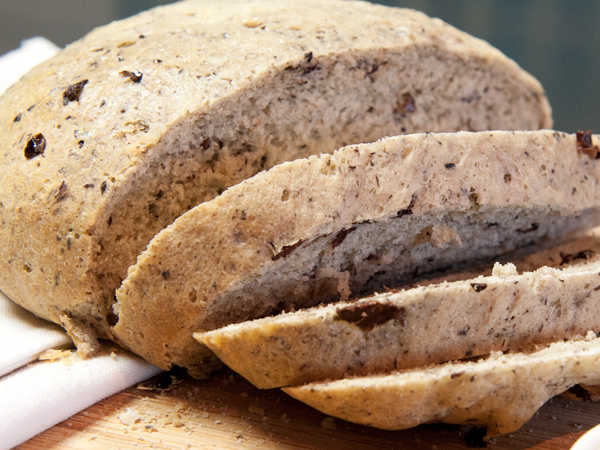
Homemade Olive Bread
Mmmmmm, can you smell that? The smell of bread baking in the oven, with a hint of olives and thyme?
I got addicted to olive bread when I discovered it at our local deli. I was happy to spend $5 on a small cob as a treat every now and then. But when I found this recipe in my hefty 500 page recipe book titled “The Art & Soul of Baking” – I had to give it go. I had never baked bread before, and always shied away from it as it seemed too technical for me. Cooking is one thing, baking is entirely another thing. Cooking to me is like art, a bit of this and a bit of that and voila! But baking is a precise science. Eeeek!

I first made one batch, which makes 2 decent sized cobs. And boy was I impressed. I made bread!
Now I will admit, this requires great preparation and time – but it’s not like you are in the kitchen for 10 hours. You’ll see my suggestion on how to time this right so it doesn’t impede on your day too much.
The first step requires you to make a concoction called Poolish. One look at how long it takes for the active ingredients to do their thing, and you immediately think you’ve got better things to do than watch yeast bubble up for 4-6 hours (or up to 12 hours). So what I do on a Friday night, is whisk together the Poolish and leave it on the bench until 8am Saturday morning. Total time spent so far: 15 minutes. To be continued…
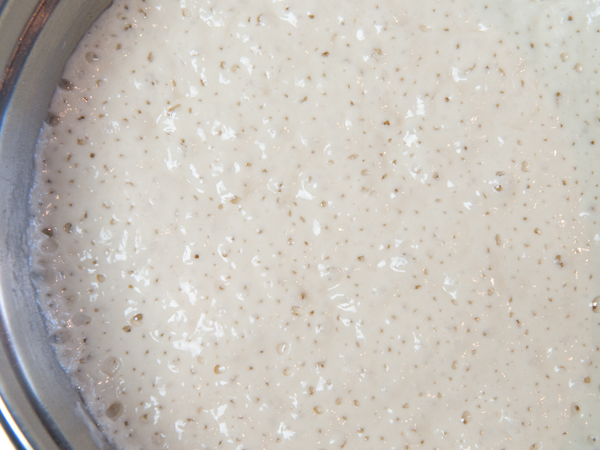
This, is an exciting picture of Poolish. Otherwise known as ‘Yeast doing what yeast does best.’
So on Saturday morning after my morning coffee, I start step 2: Mix, Rest and Knead the Dough. Total time spent in this step is 30 minutes.
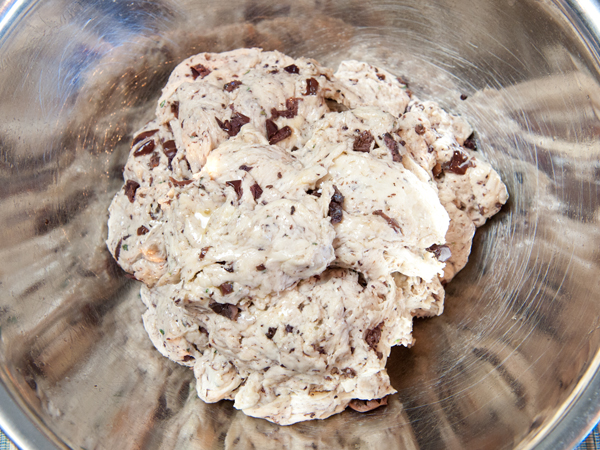
It’s not even 9am and I’m onto step 3: Rise the Dough (First Rise). Basically, all you are doing here is letting the dough rise until it has doubled in size (as you can see from the image above and below) and this process takes between 1.5-2 hours, depending on room temperature. This is where you can do other stuff! Do your shopping, meet with friends, whatever you like. The oven isn’t on yet, so it’s safe to leave the house while your dough is rising!
Once you’ve come back from your shopping or mini vacation, it’s time for step 4: Punch Down, Divide, and Shape the Loaf. So roll your sleeves up, put your apron back on and get on with this step, that will take no longer than 15 minutes total.
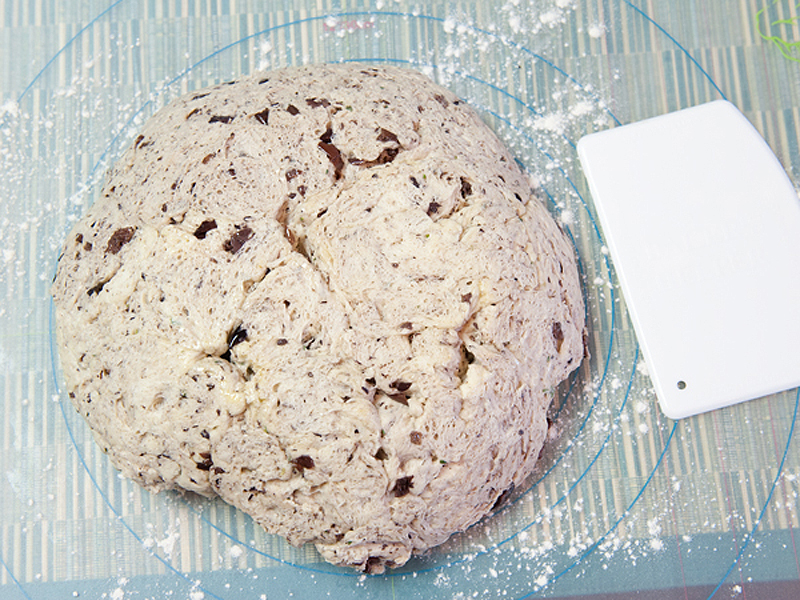
Step 5: Proof the Dough (Second Rise). All you are doing here is letting the little cobs you created in Step 4, double in size by leaving it alone for 45-60 minutes. As the book states, “they look like they have taken a deep breath”. While you wait for the second rise to happen, there’s time to unpack the shopping, put the washing on, create a blog post, do your hair or the gardening.
At this point, it’s about 12.15pm, and we’re up to the final step, step 6: Bake the bread. With a pre-heated oven, this part takes a mere 25-30 minutes. And that’s it!
So while on paper, the process looks like it’d take you 10 hours in total – the actual contact time is only 1 hour, or 1.5 hours if you’re standing impatiently by the oven for the last half hour.
The statistics – Is it worth it?
By now you probably know that I like to do my numbers on homemade staples. It’s not enough to ‘enjoy’ making bread. There’s got to be a cost saving in there too, which you’ll be pleased to know there is a saving of half of what the deli charges. Plus the cob size is larger and there’s no additives or preservatives. Plus your house smells awesome.
This one’s a keeper *
Although this bread is the absolute bees knees when consumed same day, you may as well make up 2 or 3 batches (which makes 4-6 cobs) and freeze them.
PS: In a few months, I’ll show you how I put a twist on this recipe for the Christmas table!
Full recipe ingredients and method can be found in:
Title: The Art & Soul of Baking, © 2008
By: Sur La Table with Cindy Mushet
Publisher: Andrews McMeel Publishing, LLC
Recipe: Rustic Olive and Thyme Bread
Page: 75
http://www.surlatable.com/

by Helen McLean | Aug 4, 2014 | Food & Drinks
This is one of those meals that I believe I have made 1000% better by smoking the meat in our BBQ smoker. Seriously better. However, if smoked meat is not your thing – then pop the lamb cutlets in the oven instead as the original recipe states. This recipe comes from a book titled Marie Claire, Dining.
Ingredients:
750g lamb chops or cutlets
1/2 cup green olives, finely chopped
2 teaspoons lemon rind, grated
2 tablespoons flat-leaf parsley, chopped
2 tablespoons mint, chopped
Couscous salad ingredients:
1 1/2 cups couscous
1 1/2 cups boiling vegetable stock
2 tablespoons olive oil
2 onions, sliced
200g green beans, trimmed
2 tablespoons flat-leaf parsley, chopped
1/3 cup caper berries
2 tablespoons lemon juice
Method:
1. Trim lamb of fat or sinew.
2. Combine olives with lemon rind, parsley and mint.
3. Spread over lamb (pictured).
4. a) Place lamb in smoker (180/200c) for approx 20 minutes OR
4. b) Place lamb in oven (160c) for 30 minutes or until cooked to your liking.
Couscous salad method:
1. Place couscous and stock in a bowl and set aside until the stock is absorbed.
2. Heat oil in a frypan over high heat, cook onions for 5 minutes until they are golden.
3. Add the beans, parsley, caper berries, lemon juice and cook for 4 minutes.
4. Fluff the couscous with a fork to separate and then add the bean mixture through.
To serve, place couscous on serving plates topped with lamb and lemon wedges.
by Helen McLean | Jul 1, 2014 | Food & Drinks
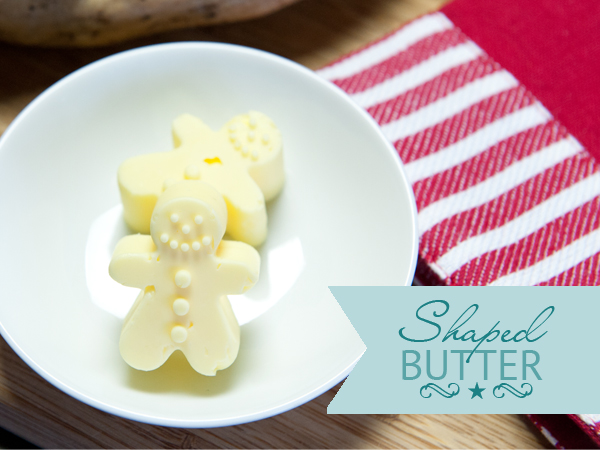
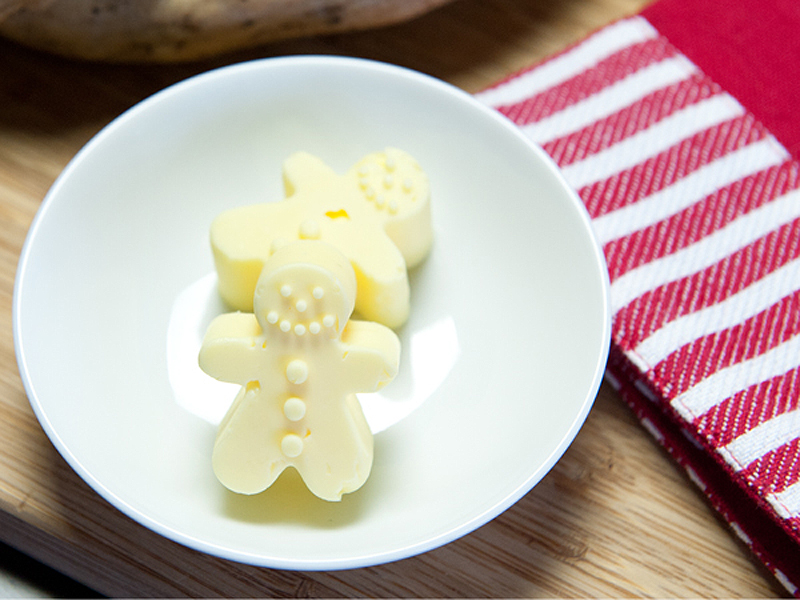
How to make Butter Shapes
Ordinarily, I’d never think of serving shaped butter – you’d get it on a butter dish in it’s original form. But for our recent family lunch, I thought I’d get really creative with presentation. It’s such a simple and cute addition to the table – you’ll have friends and family poking at the shapes asking “what is this?” You’ll feel a little bit like Chef Heston – and that’s not a bad thing!
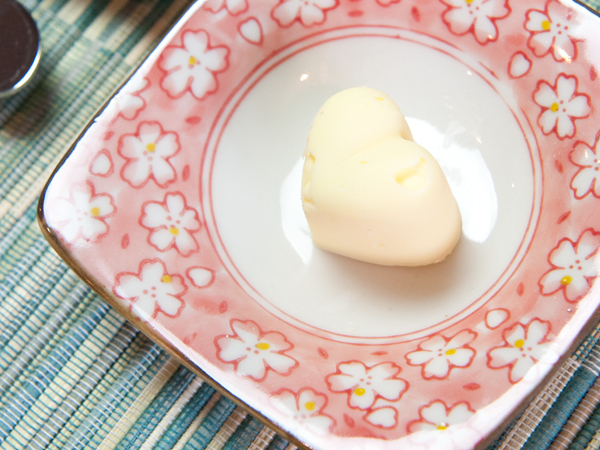
Shaped Butter Recipe
Ingredients:
Room temperature / soft butter
Silicon mold (ice mold / chocolate mold)
Basil, parsley or other herb (optional)
Method:
1. Use a mortar and pestle to grind the basil.
2. Mix well with the butter.
3. Use a teaspoon or small butter knife to place butter in the mold. The trick is to do this in small amounts and push the butter in well, to remove air bubbles.
4. Fill the mold to the top and smooth the top edge.
5. Place the tray in the freezer for at least an hour to set.
6. Carefully (depending on your shape) push out your butter shapes.
Once you’ve popped out the butter leave it to sit at room temperature for about 15 minutes before serving, so it’s easy to spread.
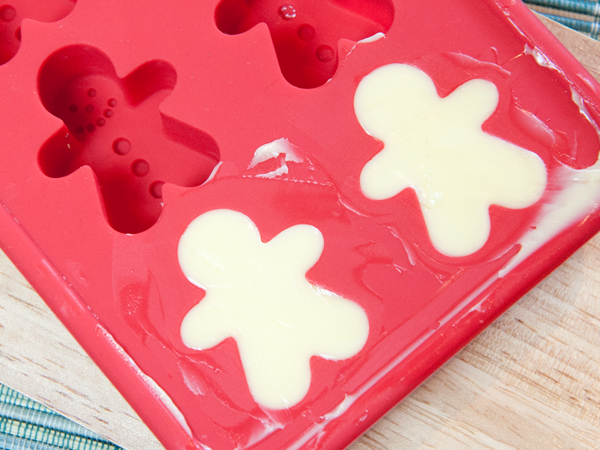

Note: Don’t melt the butter and pour into the molds! As fantastic as this idea sounds, the butter changes it’s composition when it is melted and the butter separates. You’ll have a liquid base that won’t freeze and a non-stable top layer.
Styling notes:
Floral butter dish – Daiso


