
by Candice DeVille | Sep 3, 2015 | DIY, Money
[vc_row][vc_column][vc_column_text]
I’ve been a keen op-shopper for so long I can’t even remember when I first started.
I have clear recollections of an original pair of Winkle Picker shoes in all their pointy, polished glory, making their way home with me and into regular rotation until their seams gave out.
There was a 1960’s leather trench coat with pencil pleating I scored for the grand sum of $10 and the multitude of tweed skirts I’d buy to emulate what I imagined was the feeling of a girl going of to boarding school. (I was obsessed with Girl’s Own Annuals at the time.)
When the money I had was only a tiny bit of pocket change, I’d unknowingly begun to develop my own fast money tips.
It has been a life time’s habit, one that did not always make me popular and certainly well before the term “vintage” ever entered our vernacular. It was just how I did things.
Fast forward more than thirty years later and I’m still at it. A habit which I attribute many of my keen shopping skills to, to say nothing of my money saving ways.
I realised recently just how much cash I save every year by choosing to make the op-shop my first port of call for many of my regular buys, things I would rarely, if ever, pay retail for.
Op shops are an absolute gold mine. Even now that many have put their prices up to much higher amounts in certain areas, there are still bargains to be had.
If you want to save cash quickly and regularly, these top 5 buys might just be the baby steps you need to set you on the right path.
[/vc_column_text][dt_gap height=”20″][vc_single_image image=”15828″ alignment=”center” border_color=”grey” img_link_target=”_self” img_size=”large”][dt_gap height=”30″][/vc_column][/vc_row][vc_row margin_top=”0″ margin_bottom=”0″ padding_left=”40″ padding_right=”40″ bg_position=”top” bg_repeat=”no-repeat” bg_cover=”false” bg_attachment=”false” padding_top=”40″ padding_bottom=”40″ parallax_speed=”0.1″][vc_column width=”1/1″][dt_vc_list style=”1″ dividers=”true”]
Picture Frames
What to look for:
- Solid, stable frames with no fractures at the joints
- Frames with matting still intact
- No cracks in the glass
How to fancy them up:
- Spray paint
- Gold or silver foiling
- Glitter glue bath
*Hint: Check out this stunning transformation and DIY instructional from DreamGreenDIY. I’m in love![/dt_vc_list][dt_gap height=”10″][vc_single_image image=”15821″ alignment=”center” border_color=”grey” img_link_target=”_self” img_size=”large”][dt_gap height=”30″][/vc_column][/vc_row][vc_row][vc_column width=”1/1″][dt_vc_list style=”1″ dividers=”true”]
Tupperware and other storage containers
What to look for:
- Matching lids with no warp and a tight seal
- Plastic that hasn’t suffered any melting or microwave burn
How to fancy them up:
- Vinyl stickers or labels as DIY decals
*HINT: search for Meyercord Decals to find original vintage decals![/dt_vc_list][dt_gap height=”10″][vc_single_image image=”15818″ alignment=”center” border_color=”grey” img_link_target=”_self” img_size=”full”][dt_gap height=”30″][/vc_column][/vc_row][vc_row][vc_column width=”1/1″][dt_vc_list style=”1″ dividers=”true”]
Serving ware
Pyrex, casserole dishes, silverware (plated or otherwise)
What to look for:
- No pitting in the plating as this will quickly lift or corrode
- No cracks or major chips
- Matching lids
- Matching sets or complimentary colours
How to fancy them up:
- Silver or metal polish – easy to use and makes a big difference to the overall appearance.
- Glass or china wear decals
*Hint: Check out this fantastic post by Dans leTownhouse on restoring and cleaning pyrex[/dt_vc_list][vc_single_image image=”15815″ border_color=”grey” img_link_target=”_self” img_size=”large” alignment=”center”][dt_gap height=”30″][/vc_column][/vc_row][vc_row][vc_column width=”1/1″][dt_vc_list style=”1″ dividers=”true”]
Timber Furniture
What to look for:
- Sturdy legs – no cracks or loose joins
- Well running drawers (these can also be fixed with a good sanding and a bit of baby powder if they stick)
How to fancy them up:
- Spray paint – enamel auto spray paint is a cheap buy and gives a great finish. Just make sure to sand properly in between coats
- Re-upholster – often very simple of timber furniture with upholstered seats.
- Add moulding panels
*Hint: This impressive timber stool makeover from The Red Thread blog has total DIY instructions.[/dt_vc_list][dt_gap height=”10″][vc_single_image image=”15817″ alignment=”center” border_color=”grey” img_link_target=”_self” img_size=”full”][dt_gap height=”30″][/vc_column][/vc_row][vc_row][vc_column width=”1/1″][dt_vc_list style=”1″ dividers=”true”]
Cushions & Throw Pillows
What to look for:
- Size – does it fit the purpose you have in mind
- Overall condition – cleanliness
- Don’t worry about the cover or pattern, you can make you own later
How to fancy them up:
- Make your own cushion covers
- Add fancy trim, like fringing or braiding to the existing cushion cover
- Add buttoning for a more expensive look
*Hint: This Spotlight tutorial has the instructions on how to make DIY cameo or silhouette cushions[/dt_vc_list][dt_gap height=”10″][vc_single_image image=”15820″ alignment=”center” border_color=”grey” img_link_target=”_self” img_size=”full”][dt_gap height=”30″][/vc_column][/vc_row][vc_row][vc_column width=”1/1″][vc_column_text]These are some of our most shopped for decorator items and sometimes the dollars add up very quickly.
If like me, you prefer to save your money and invest it elsewhere (like paying off bills or supporting local artisans and buying handmade shoes), these tips will set you on the right path.
It’s a healthy habit to get into both for your wallet, the environment and for the creative part of your brain that gets a chance to flex its muscle.[/vc_column_text][/vc_column][/vc_row][vc_row][vc_column width=”1/1″][vc_single_image image=”15808″ border_color=”grey” img_link_target=”_self” img_size=”large” alignment=”center”][/vc_column][/vc_row]
by Candice DeVille | Aug 19, 2015 | DIY
Thanks to Nuffnang and Spotlight
Sewing and DIY projects have fallen way down my list of priorities in the past year. I’ve been on such a decluttering and purging streak that the urge to create had been hiding. Now, with the clutter gone, systems streamlined and a much clearer head, I’m looking at my long shelved projects with new eyes.
Thankfully I didn’t purge my stash of beautiful vintage patterns in the clear out, and their time has finally come. There’s likely to be a bit of dust to brush off my skills, so I’m starting slowly and diving into the delightful rack of restorations I’ve been meaning to work on.
I bought this amazing 1960s sequinned top in Los Angeles over four years ago and haven’t taken the time to replace the silk lining; until now. While I was looking in the wardrobe for spring outfit inspirations and feeling the need for a bit of glitter, this little number was unearthed.
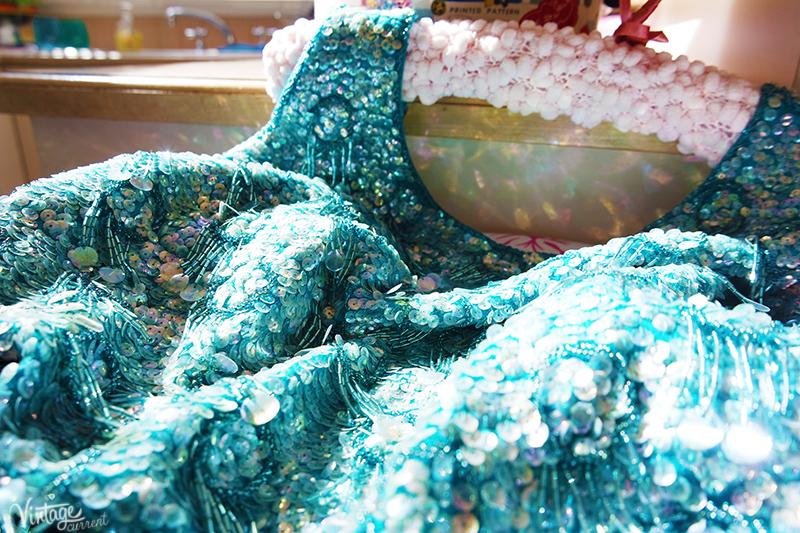
I love the way the shine ripples off this blue like waves, throwing a rainbow of colours back at you. The bright morning light made it even more beautiful.
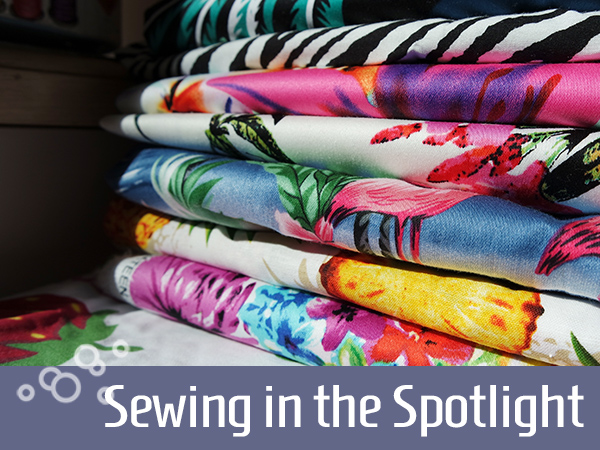
It isn’t just the spring sunshine that has me inspired to bust out the sewing machine again, but all the new fabrics from Spotlight! I’m incredibly grateful that they gifted me this little stash with the instructions to give it a fabulous life. Ummm.. yeah!
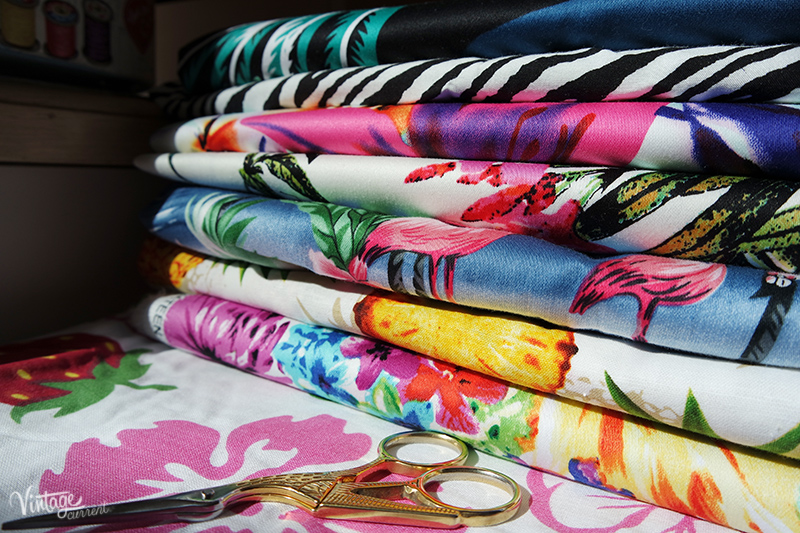
If you’ve been following my Instagram you’ll have seen the pains I was in trying to decide which fabric to make this beautiful vintage shirt-waister pattern in. While the feedback was pretty much a spilt between the two, with many voting for me to make it in both patterns, I’ve decided to first tackle the flamingo print, then move towards the pineapple print for summer.
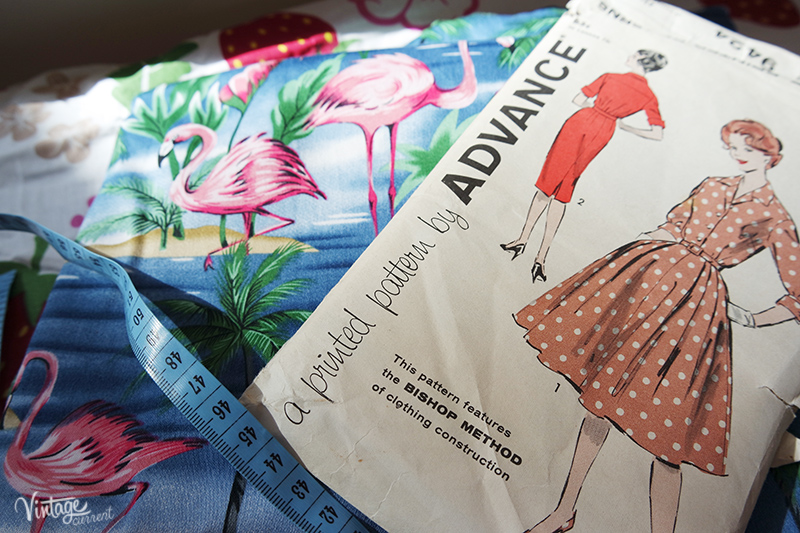
I have to give myself plenty of time to get this done though, as rushing a vintage pattern can be disastrous. Measure twice, cut once. I was super keen to get started on this project but determined that the safer route was to start with the restorations, then move onto knocking up some new circle skirts in these stunning spring florals.
While I have loads of original vintage patterns for circle skirts in various forms, and again there are loads of tutorials online for DIY versions, without a doubt, the most simple way to make one of these is with this costume pattern from Spotlight.
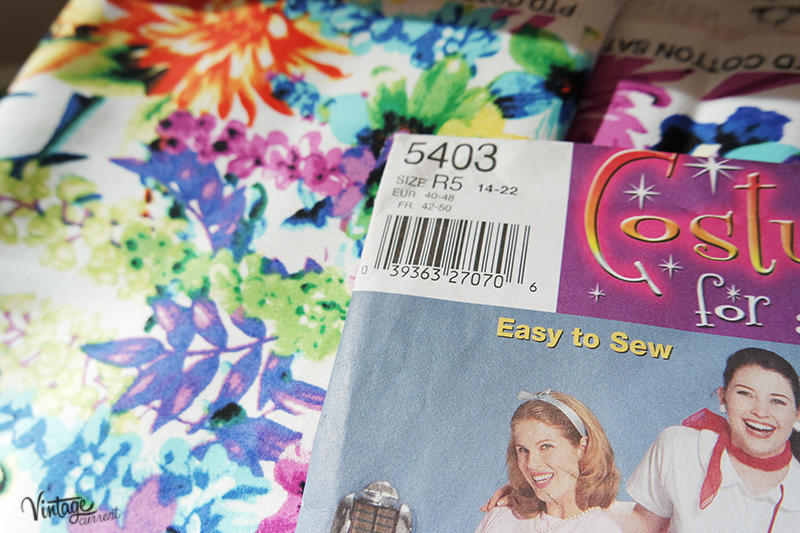
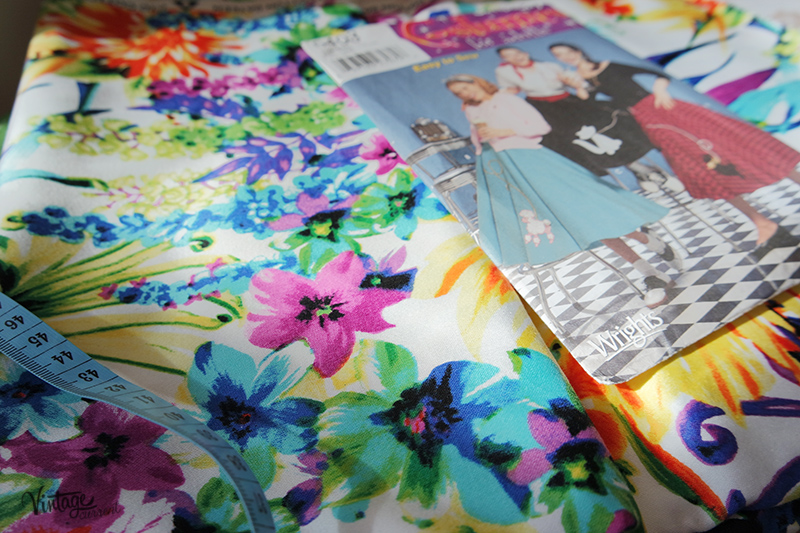
If you can ignore the super cheesy images on the cover and get over the fact that they are in the “costume” section (we vintage lovers are easily offended when our daywear is referred to as a costume), you’ll have yourself the best go-to pattern in your range.
Having a group of friends, both virtual and real, who inspire me with their prolific ability to create, has made a huge impact on my motivation. The Facebook group where everyone shares their successes and failures is hugely helpful in keeping your projects in perspective, as well as getting the odd piece of advice or just venting at our tools.
We all share the “problem” of heading out to Spotlight and coming home with more fabric for more projects. I’m trying to stay focused this time around and just buy the little bits I need in their online store instead of jumping in the car and being lost in the rolls and rolls of temptation.
I’m attempting to stay much more organised with my creating this time around, and not allow unfinished projects to become clutter. Instead I’m taking the opportunity to mend and remodel, then determine exactly wear these new fabrics are best used in my wardrobe.
I’d be interested to hear if you have a certain way you approach your sewing and design projects. Is it by pure inspiration or something more strategic? Also, if you have any Pinterest groups you’re involved in and know I must join, please let me know!

by Candice DeVille | Jul 16, 2015 | DIY, Home & Garden
Making your house a home with simple DIY projects is one of the great joys of vintage living.
Taking what is old and giving it new life, imagining possibilities and reviving the story of something that is otherwise forgotten. I have a few tea caddys no longer in service and they have sat prettily on the window sill gathering dust; now it’s time to put them into a different kind of service. With a little love and creativity they can take center stage as you plan your Spring decorating. After all, what could be a more appropriate way to celebrate the coming season than with taking something out of hibernation and giving it a brand new life!
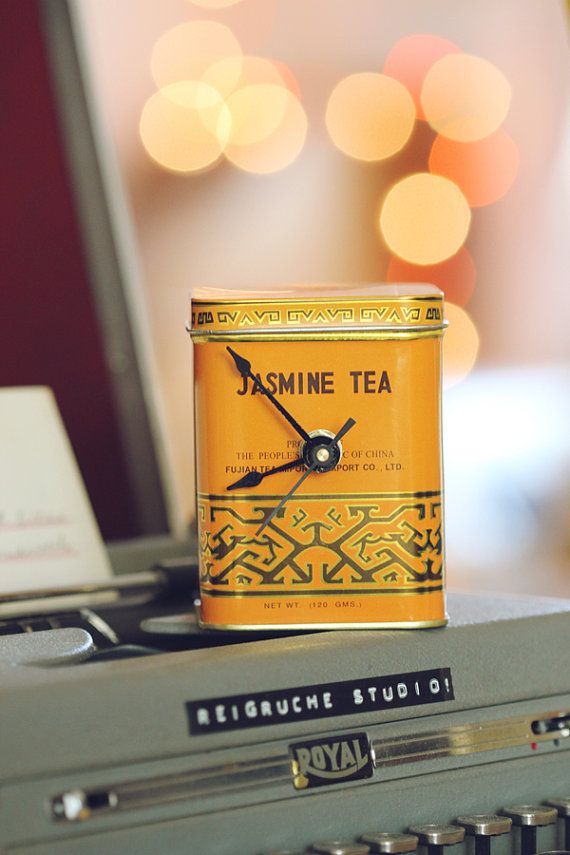
Time Time clock via Etsy
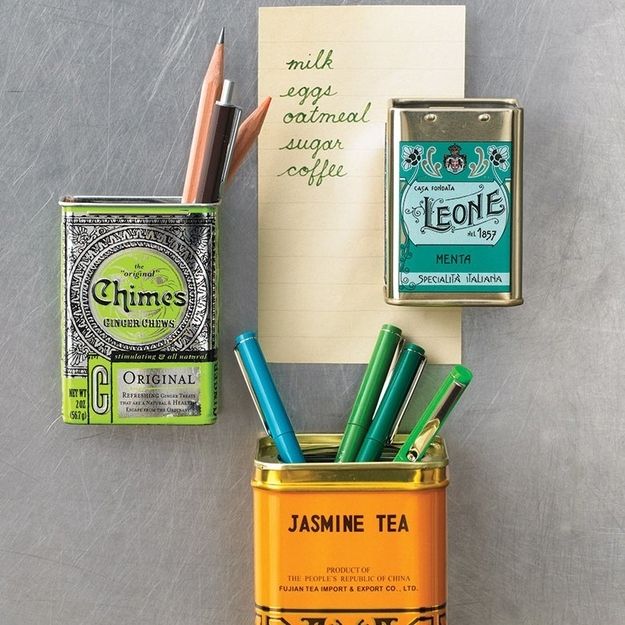
Tea Caddy Magnets via Martha Stewart (full directions here)
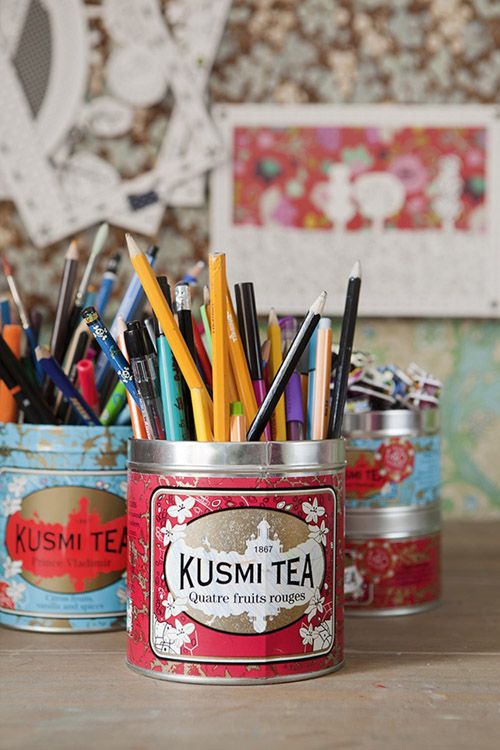
Image via Kika Reichart
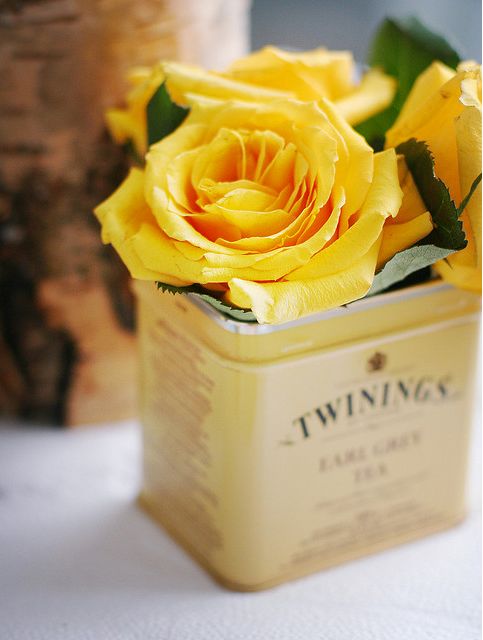
Image source unknown
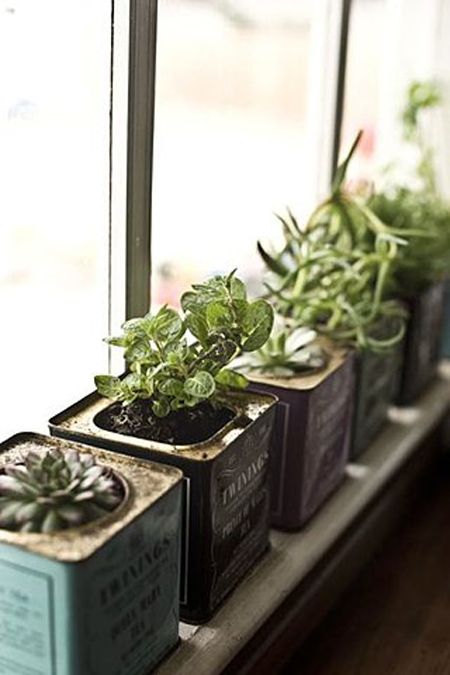
Image via Babble
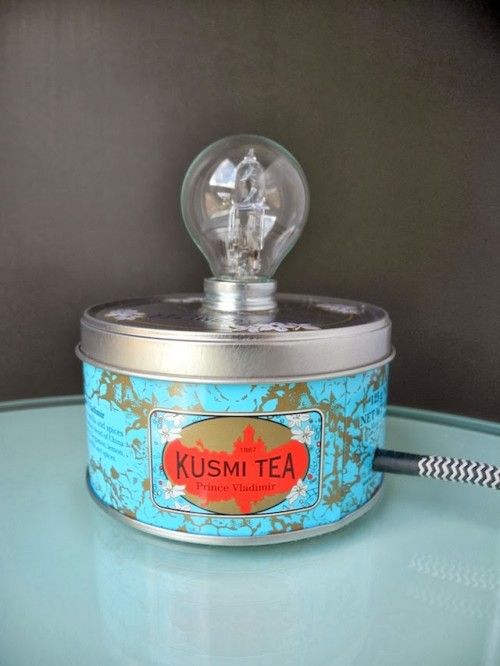
Tea Caddy DIY lamp via Shelterness
If you have any spare tea caddy’s and want to send them my way, I’ll give them a very good home!
by Candice DeVille | May 22, 2015 | DIY, Style Inspirations, Vintage Remixed

It has been a long time since I was last excited by the thought of an impending winter. Over the last few years I have been travelling through the most of those months and have missed out on those deep grey and rainy days.
Since being in Philly and getting a rough idea of what winter is like here (to say nothing of Chicago), I feel for you my American readers. The early spring days were cold enough for me, colder even than most of the Melbourne winters I’ve ever seen. The stories of snow so thick you have to stay indoors for days, that towns almost shut down as people struggle to go about their business. Rugged up in my thick winter puffer coat, furry collar and gloves, I was still so chilled by the wind that it gave me a headache. Putting winter into perspective has given me a whole new wave of inspiration and, as I think about all the lovely things I have in storage, I’ve started planning what I’d like to wear in these coming months.
With only a few days before I’m back on a plane to Australia, my friends at home tell me I had better be prepared for the cold grey days. And I remember, that being prepared, having a plan for go to outfits on those “freezing” days when you simply don’t want to get dressed, is the best way to get through those grey days with a smile on my face.
Oddly, I find that each season has a certain era to it in my mind. Spring and Summer are all 1950’s and 60’s, Autumn is more 1930’s, and Winter seems very 1940’s to me. I imagine that this is because there are certain iconic pieces from each era that work so well for those seasons. The 50s floral day dresses and 60s shifts, 1930s wide leg pants and jaunty knit tops, and those stunning 1940s waisted suits.
While I love, and have quite a collection of those suits, they really aren’t the most comfortable or practical option for someone who spends most of their time working from home. I also draw a very big line at working in my pyjamas or anything resembling a tracksuit, yet the appeal of soft warmth on those days is quite intoxicating. It has given me an idea.
What if, just maybe, I could find a way to work some nifty pants in a soft, track pant like fabric (gasp!) into my 30s and 40s inspired wardrobe?
I have so many patterns, I have my sewing machines and I have a very creative way of piecing things together. Why not? I know I won’t wear leggings or yoga pant styles, and as much as I loved jodhpurs, my hips don’t. What if I can find just the right kind of fabric in navy, black and chocolate brown, then perhaps I may be able to make something so versatile and comfortable it could be the vintage lovers alternative to the jegging?
Perhaps I have gone completely mad, but my instincts tell me I may be onto something.
So I’ve been poking around to find the right inspiration for patterns and ensembles. Looks that are appropriately polished enough, yet will still work with these sort of stealth slacks.
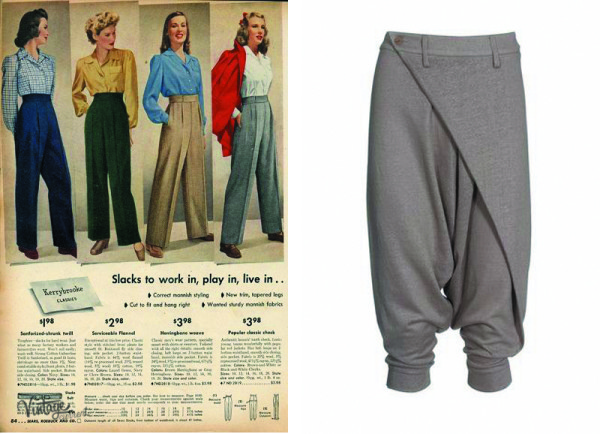
Of course the success to this idea (other than the construction) will be all in how they are styled. Here’s what I’m imagining.
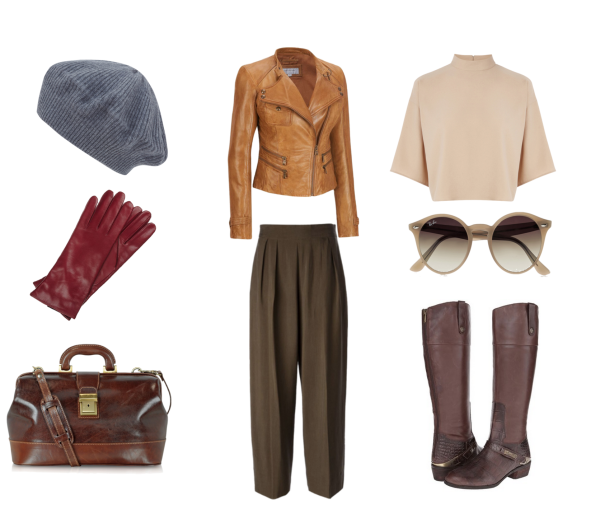
Toasty chocolates and camel wools. Tan leathers and knitted berets, all ready for adventure.
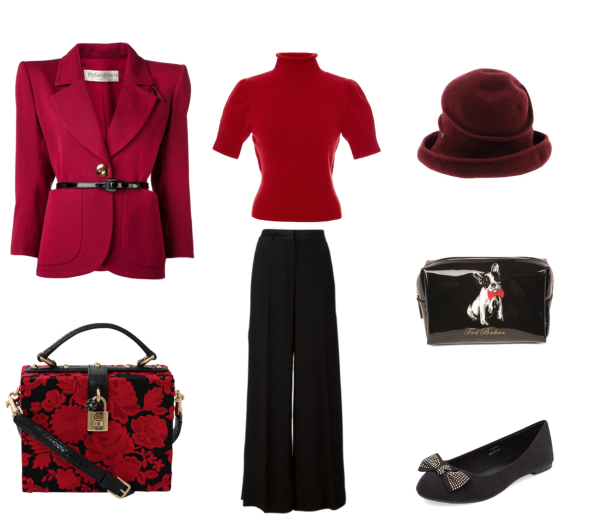
Rich berries, tone on tone with soft and cozy wide leg pants. A belted vintage blazer with a strong shoulder line to dress it up.
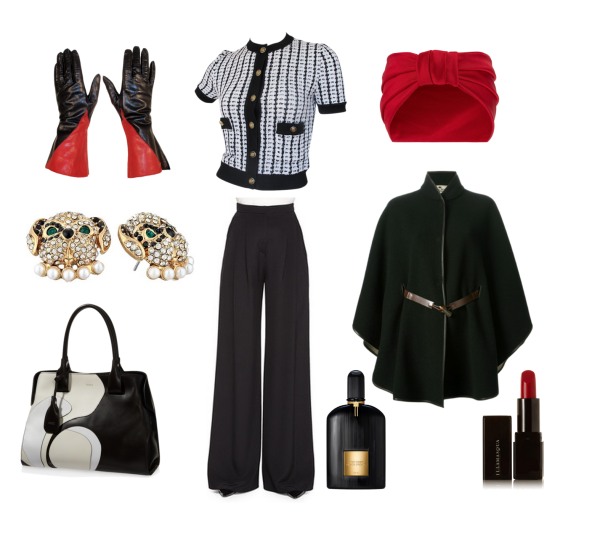
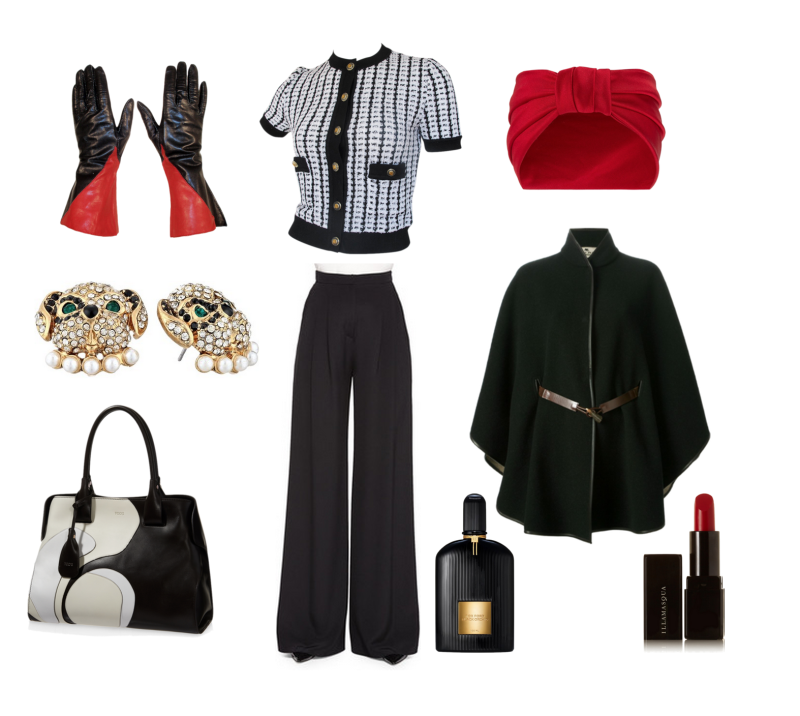
A simple boucle knit with the same wide leg pants makes lounging around a pleasure. Add a fabulous cape, turban and these incredible gloves to head out for a spectacular evening.
I’d love to hear from my fellow sewers as to what you think of this idea. I’ve worked in all kinds of fabric, including fleece for blankets, but I’ve never tried to create something more structured from this fabric. Have you done anything like this? Have I gone completely mad?

by Candice DeVille | Jul 29, 2014 | DIY
Being at the mercy of anything isn’t a good feeling, and yet everyday I watch on as we become more and more dependent on the market around us. First it started out as marketing services for the time poor, yet gradually the insidious creep of helplessness is engulfing a generation.
It may sound dramatic, but I’m constantly amazed that many of the skills I take for granted have become the realm of specialist or obsessives only. What am I talking about? The simple ability to do things for ourselves.
We’re well aware of the huge resurgence in DIY culture, yet there seems to be some things we see as too technical or scary to do ourselves. Maybe we’ve forgotten how to read instructions, or maybe there’s never been anyone in our close circle to help teach us, but whatever it is I’ll be blowed if I’ll give up learning new things just because buying them is “easier”.
As someone who has a thirst for knowledge and a ridiculously positive outlook on learning, it may come as a surprise that there are some things that still completely mystify me and scare me out of attempting. Like math, arc welding and anything they cook on Master Chef. But knitting, knitting shouldn’t be one.
The number of times I’ve poured over vintage catalogues and wished I could Buy It Now, or purchased beautiful knitting patterns to drool over are too many to count. I have made several failed attempts at knitting in the past, ending up with rather (let’s just say) organic looking pieces rather than what I had in mind. When I consider all the things I’ve taught myself to do, drafting patterns from vintage clothing, web design and even learning Chinese, why oh why does knitting scare me so much? Frankly it is madness and I’m tired of being at the mercy of my wallet when it comes to satisfying this wardrobe want.
So I have started knitting again.
So far so good. It is all on the needles and all the stitches are there. I’ve joined up on Ravelry and a few Facebook interest groups. I’ve bought a stash of needles from Savers and I may even make a bag for it all this week. (Every new hobby must have all the applicable accessories around here, it’s like a family rule.)
I am determined to master this skill, I just have to stick to it and not completely crack it each time something fails. And if I keep going like this adding to my extremely diverse set of life skills, I may yet be ready in time for the Zombie Apocalypse.

by Candice DeVille | Jul 17, 2014 | DIY, Kids
People always ask me how I dress my girls. I’m sure you have this romantic notion of them in matching little sailor dresses sitting perfectly at the dinner table saying, “please pass the salt Mother”. (Perhaps not.)
The reality is, that since they were little, there are only a few occasions when I’ve been able to have them in true vintage. We have some fantastic pieces like a 1960’s leopard print raincoat and matching hat, a 1970’s red skating dress with white faux fur trim, and beautiful little gloves for tea time. Day to day wear however, I’ve been loath to have them in vintage as I just can’t bare to see that history getting ruined in the mud. Instead I’ve made them little dresses from vintage patterns when they were small, and as they’ve grown looked for pieces that can be styled up with a vintage look. The problem is that now my eldest is TEN(!), it is becoming harder to find appropriate looks. She’s been pouring over pictures saying the same thing we do. “Why don’t they make these now?!”
She isn’t a fan of jeans or pants in general, and would dearly love to get into pencil skirted suits already. I was exactly the same at twelve years old and have some very amusing photos around here somewhere. Together we’ve been out scouring the stores and op shops in the hope of finding pieces we can put together for the right look. She’s in the awkward stage between not fitting into the girls clothes that look right (there are NO good tween options), and wearing very small ladies clothes. It seems that we are only left with the DIY option of sewing up Misses patterns; a very time consuming endeavour. Here is her preferred selection so far.
I swear, if there was someone in the vintage community making children’s clothes in these sizes, they’d have a decent business! (If you know anyone please let me know) There are a few options around but generally they stop at a size 7 at most. I guess girls over that age are a niche market within a niche market. We have an event on Sunday that she’d like to wear one of these to. Nothing like a bit of pressure hey?!


