Smurf themed Halloween Dessert
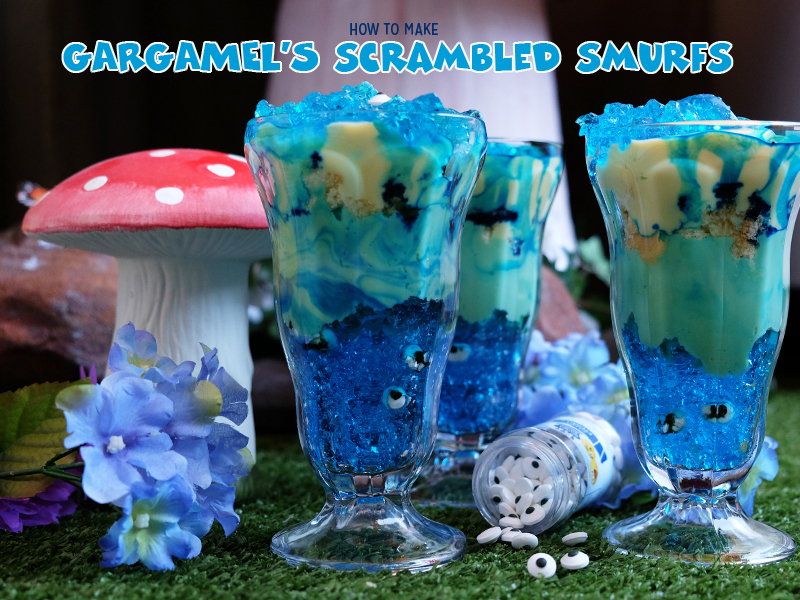
Last year, I showed you how to make the Scrambled Zombie Brain Halloween dessert. This year, I want to show you how to do a Smurf themed Halloween dessert – “Gargamel’s Scrambled Smurfs”.
With 3 main ingredients – sponge cake, blue jelly and custard, you can make this so easily. Add to this version some blue food colouring and candy eyeballs, to make it gruesome (poor Smurfs!)
Gargamel’s Scrambled Smurfs
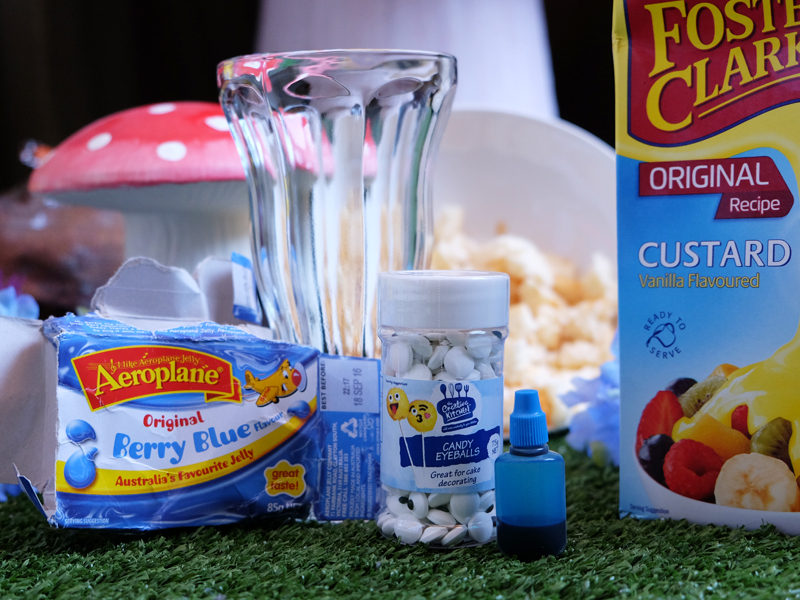
A few handy notes on the ingredients:
- Pre-make the jelly ahead of time – it requires 4 hours to set. Using a fork, break up the jelly into blobby chunks.
- You can either make your own plain sponge cake, or buy it from the supermarket. Cut the sponge cake into bite size pieces (don’t worry about being neat).
Assembly of Gargamel’s Scrambled Smurf Trifle:
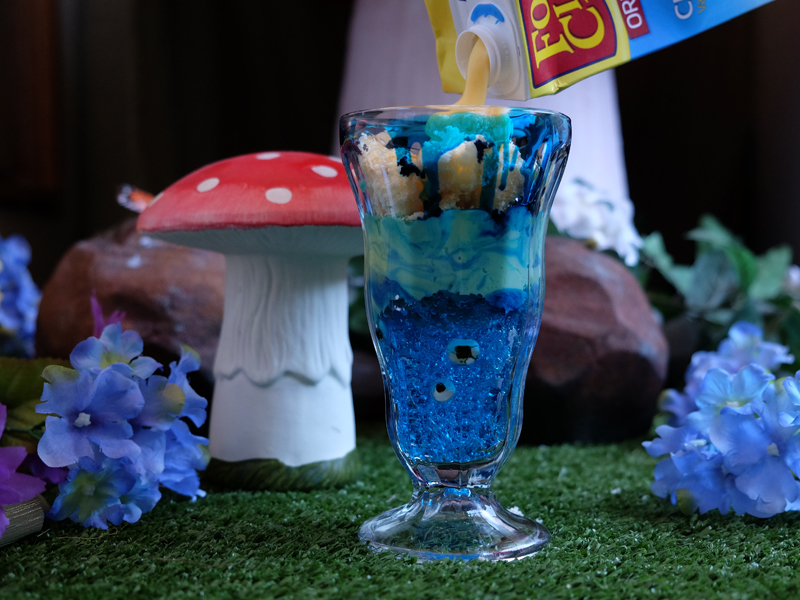
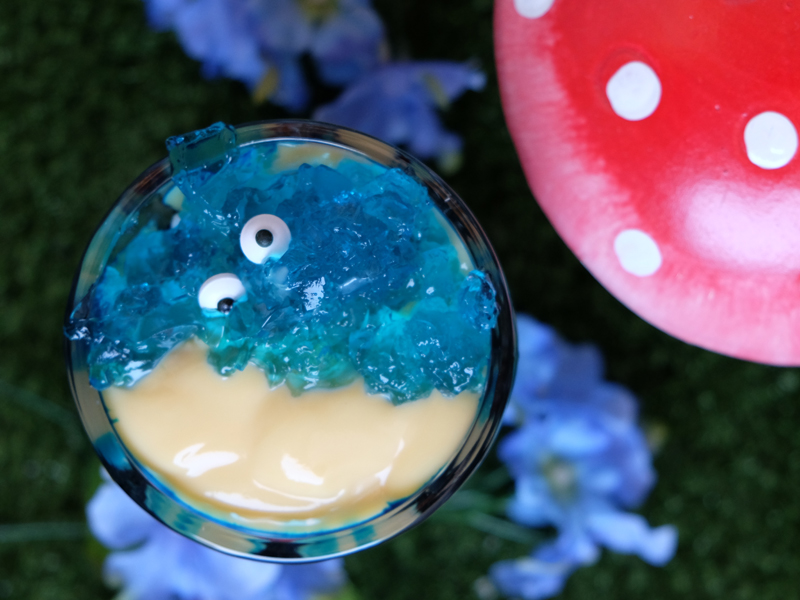
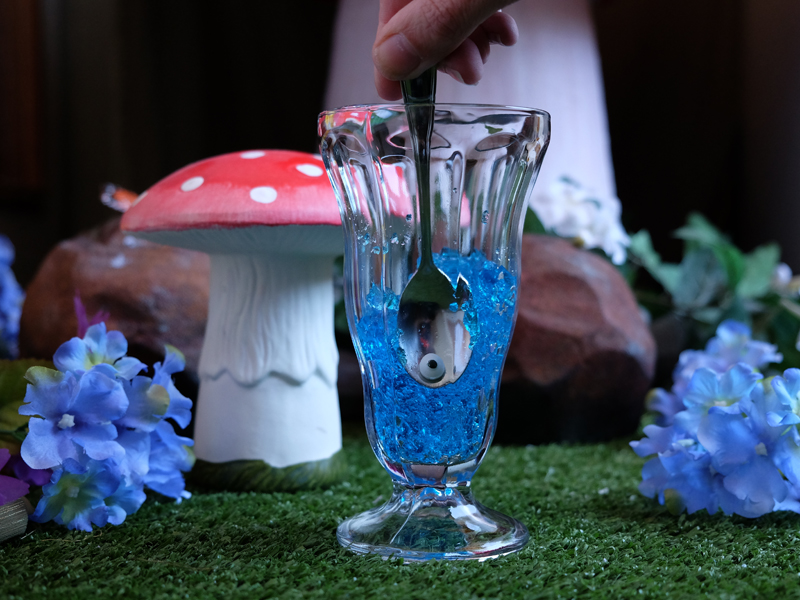
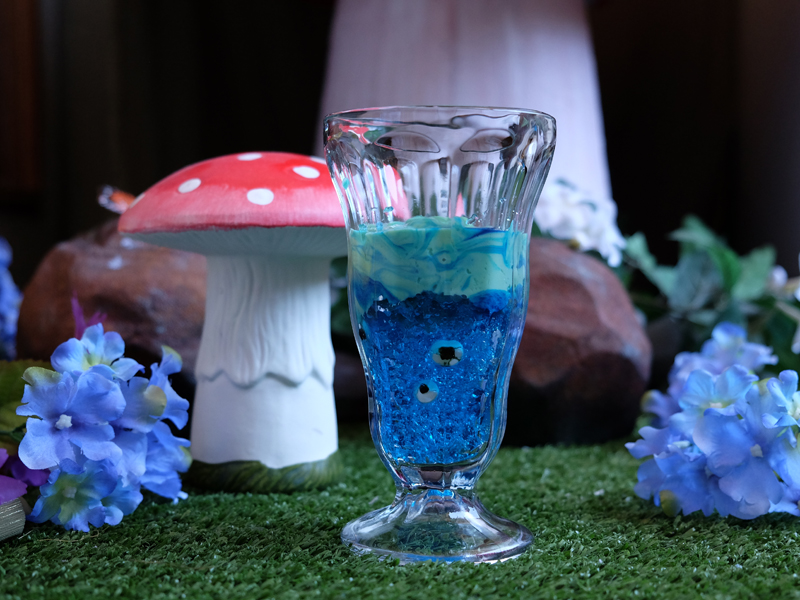
1. Scoop a layer of jelly into the bottom of a glass or clear dessert dish.

2. Add the candy eyeballs. Use a teaspoon to hold the eyeball and push the spoon into the jelly, where you want the eye to sit.
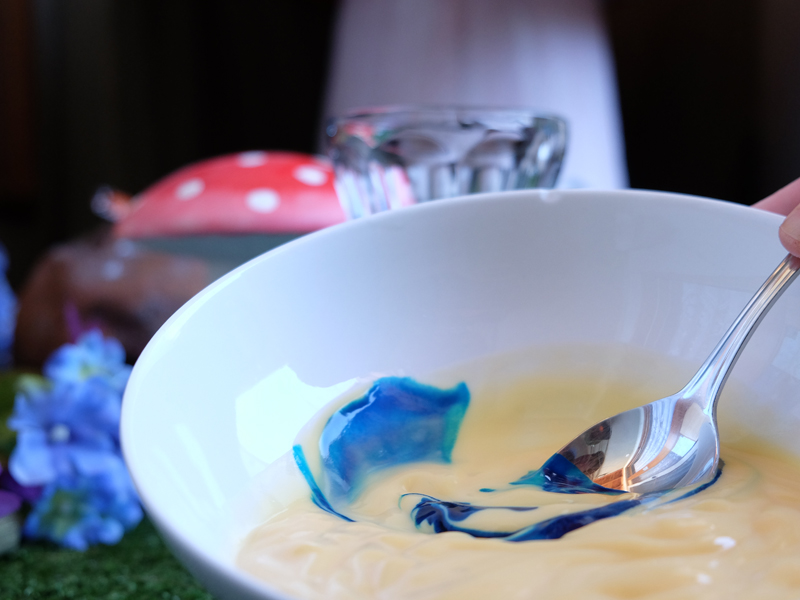
3. Add blue food colouring to the custard and mix until marbled through.
4. Scoop a layer of thick vanilla custard next.
5. Then a layer of cut up sponge cake. Adding the layers in this order means that the sponge cake gets scooped up with enough custard so it’s moist to eat.
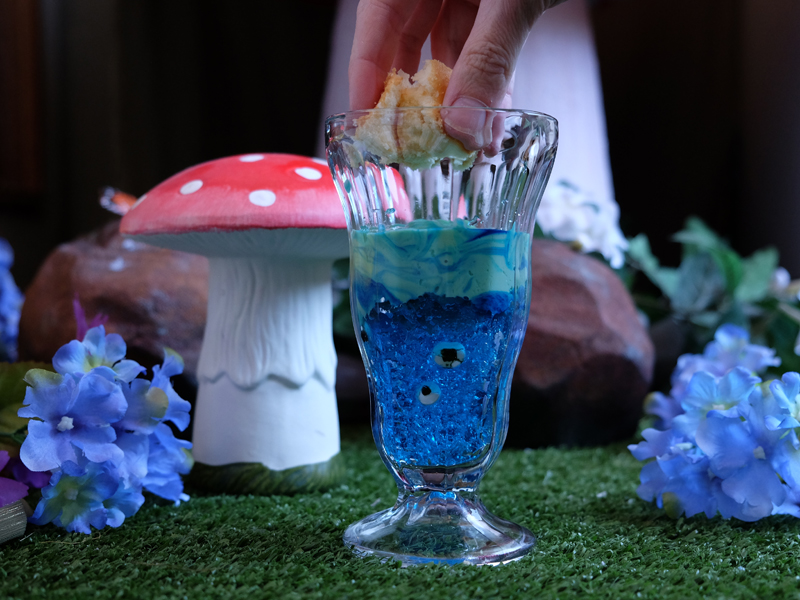
6. Now, I’m not sure what colour Smurf blood is – but I’m going to go with blue! You could make it red or even purple. Add a drizzle of blue food dye around the rim of the glass and let it ooze down into the cake and custard.

5. Last of all, top with more custard and jelly – half on each side of the glass so you get to see them both when looking into the dessert. And add a couple more candy eyeballs, so they look at you when you go to take the first bite!